NightSailor
Captain
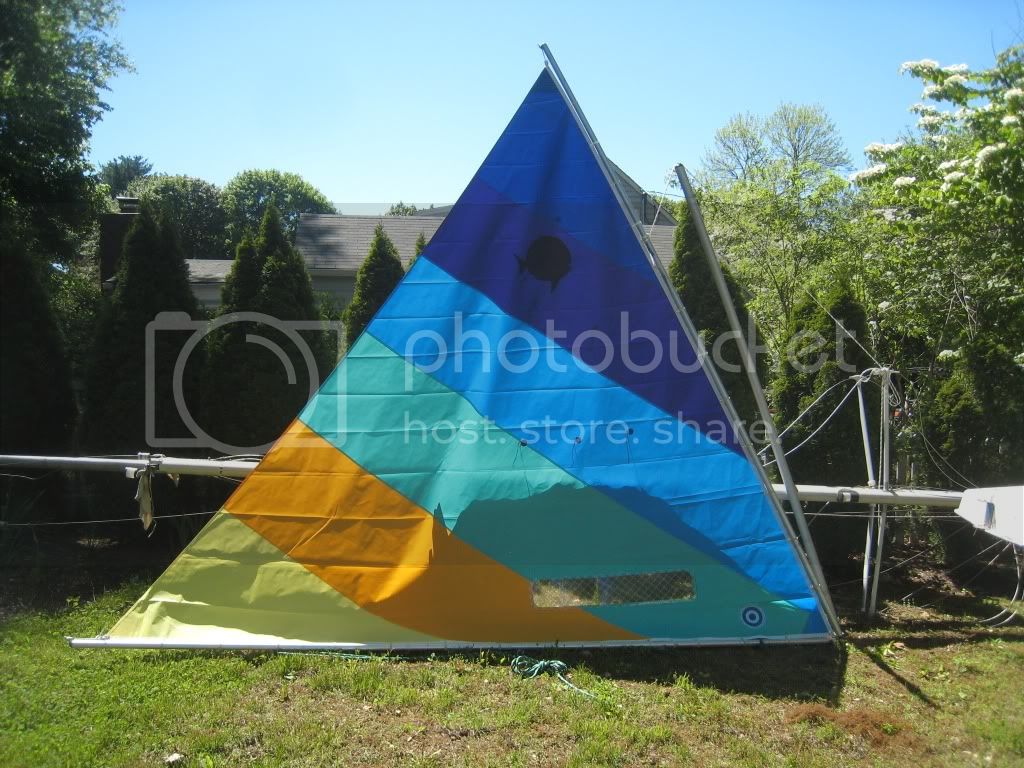
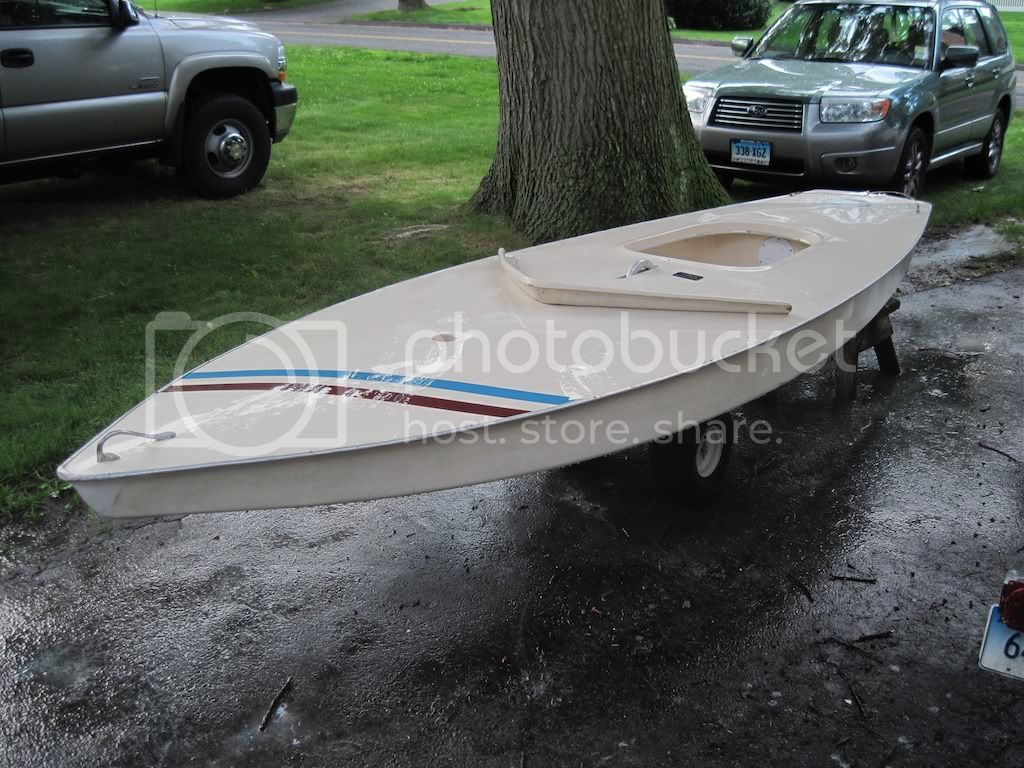
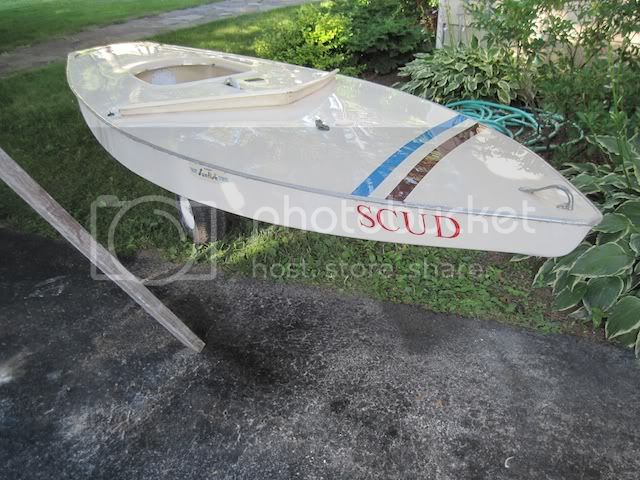
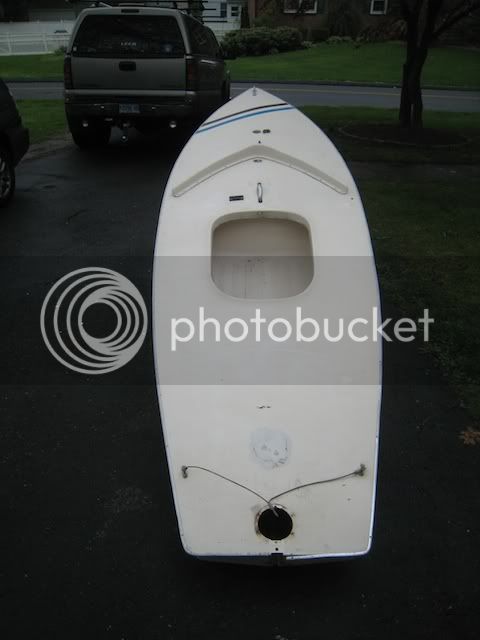
Scud participated in the 1972 North Americans. Decals show is was used up through at least the early 1980's.
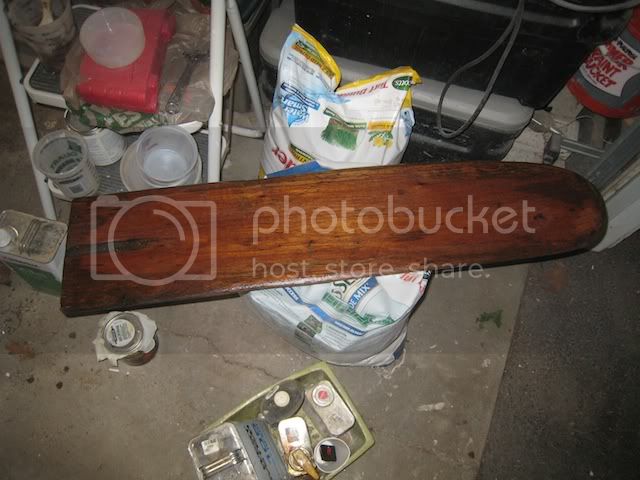
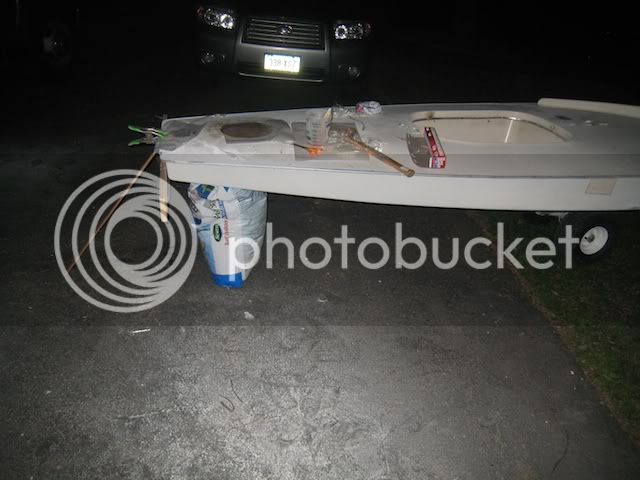
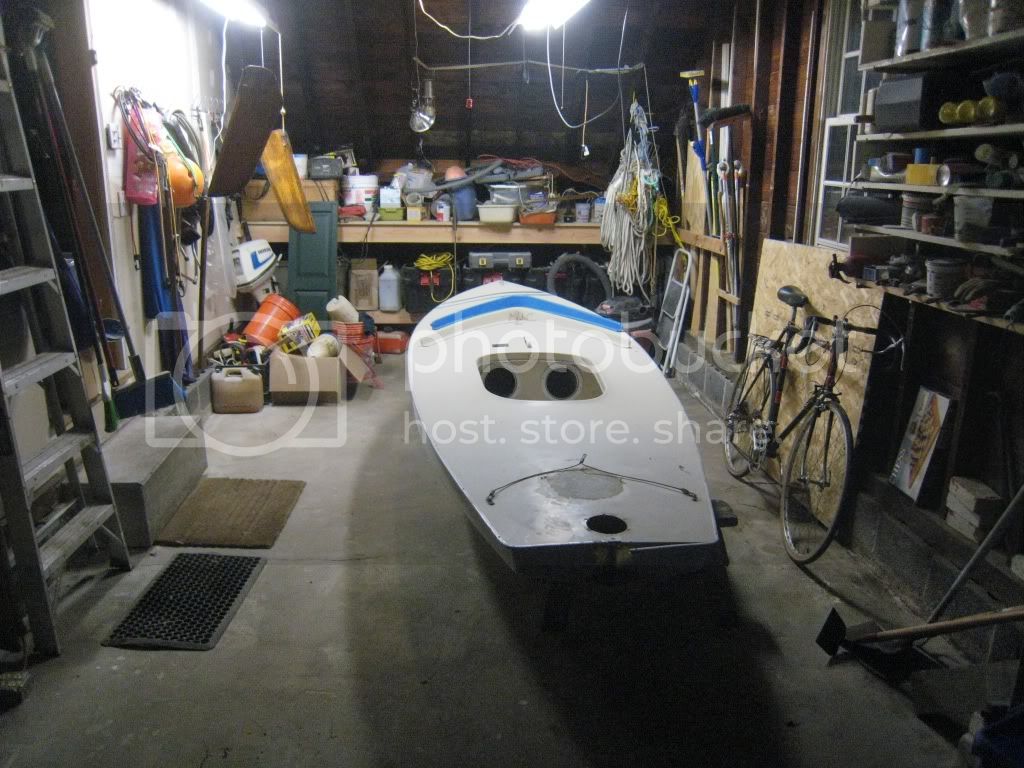
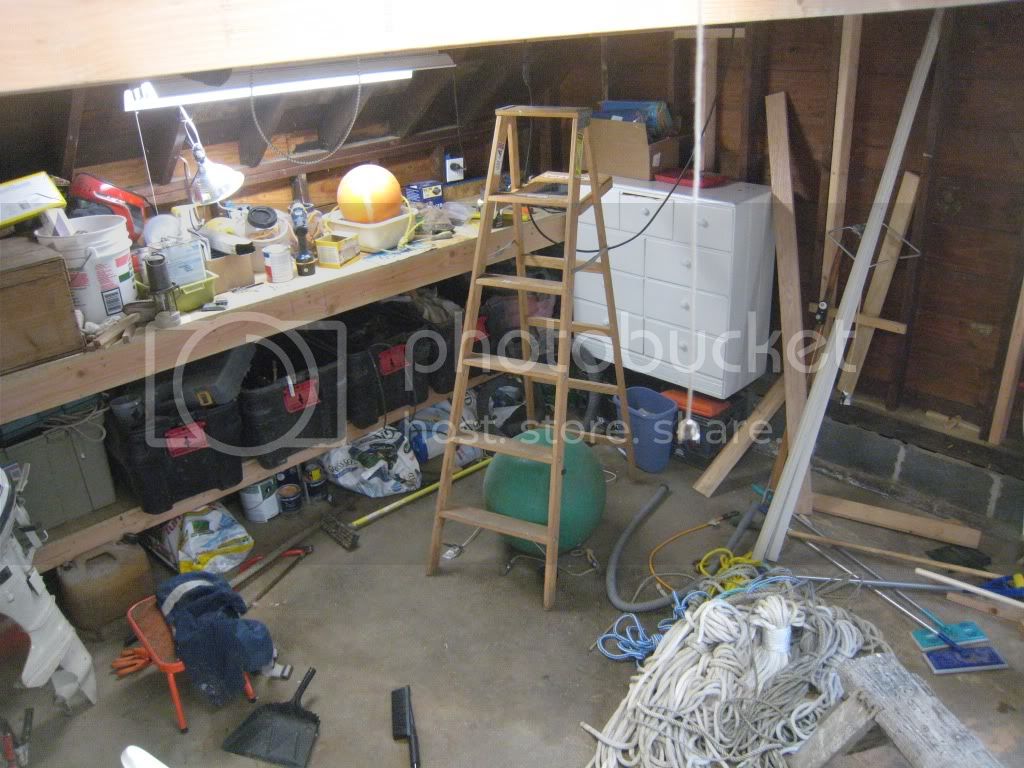
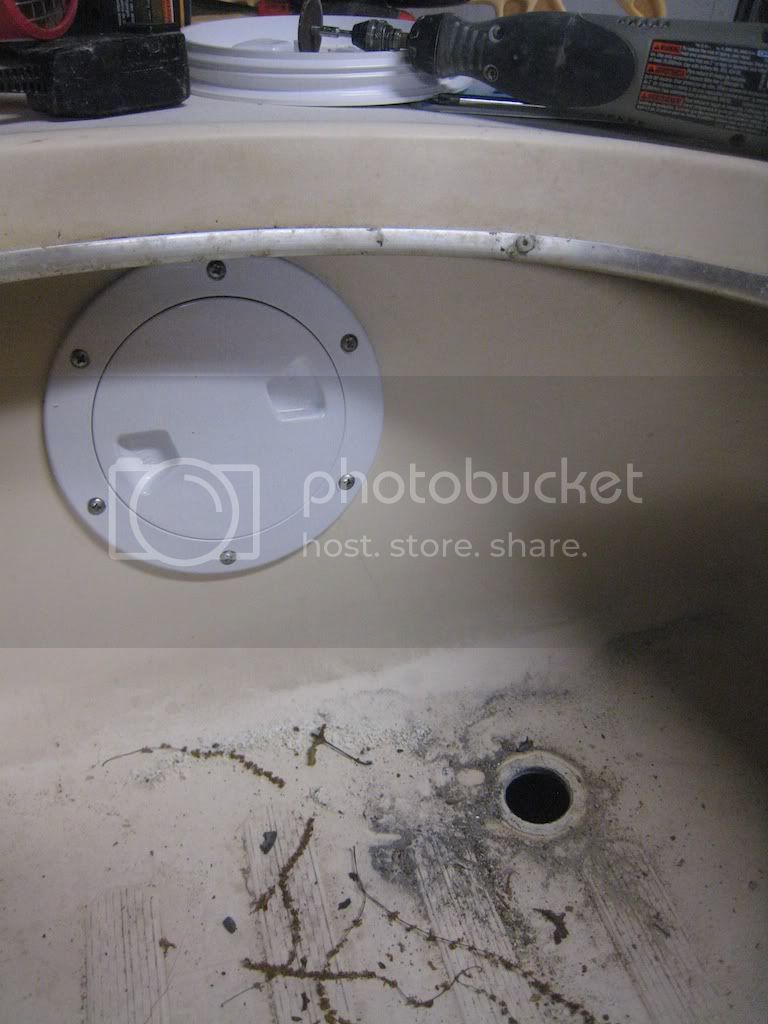
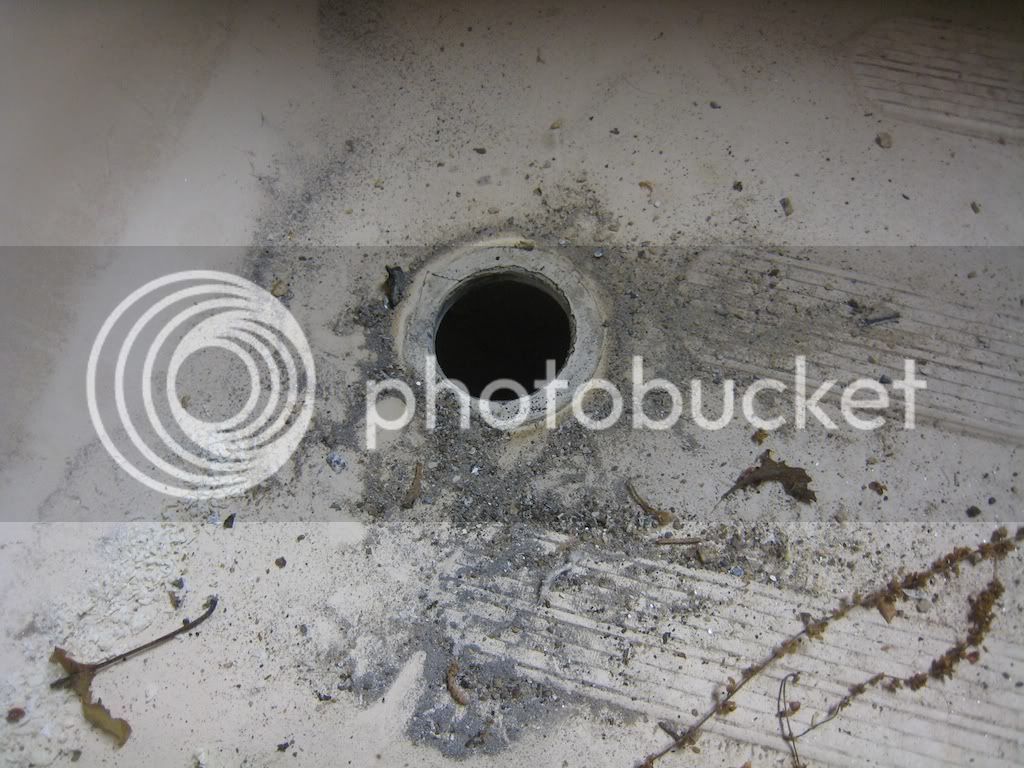
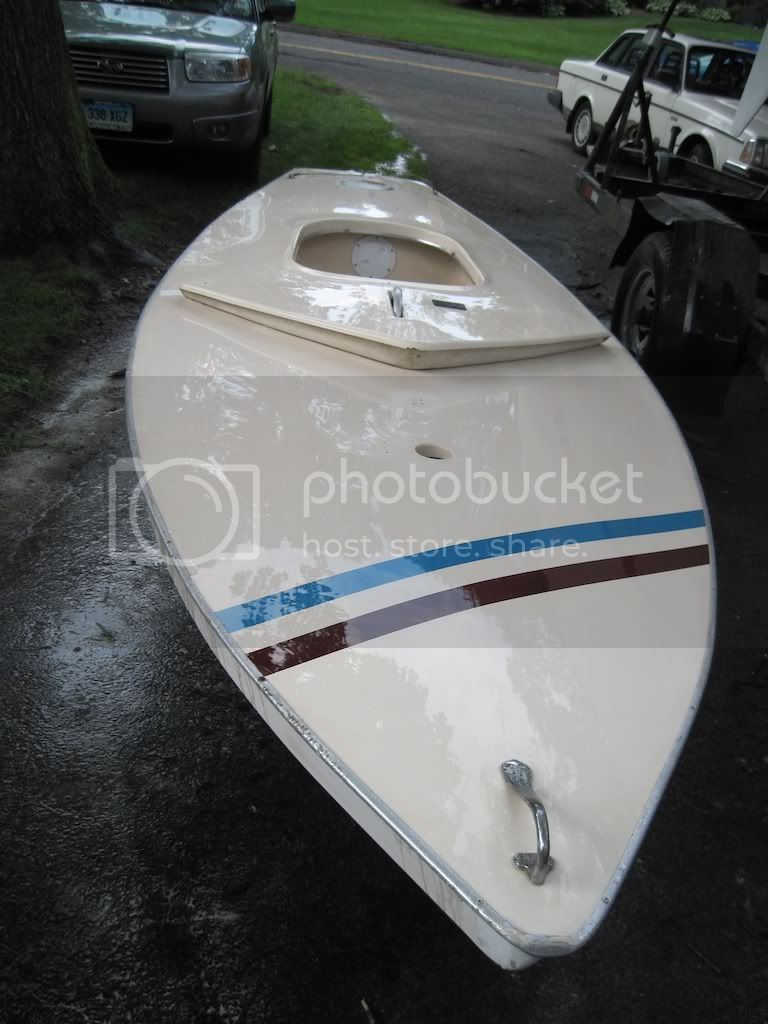
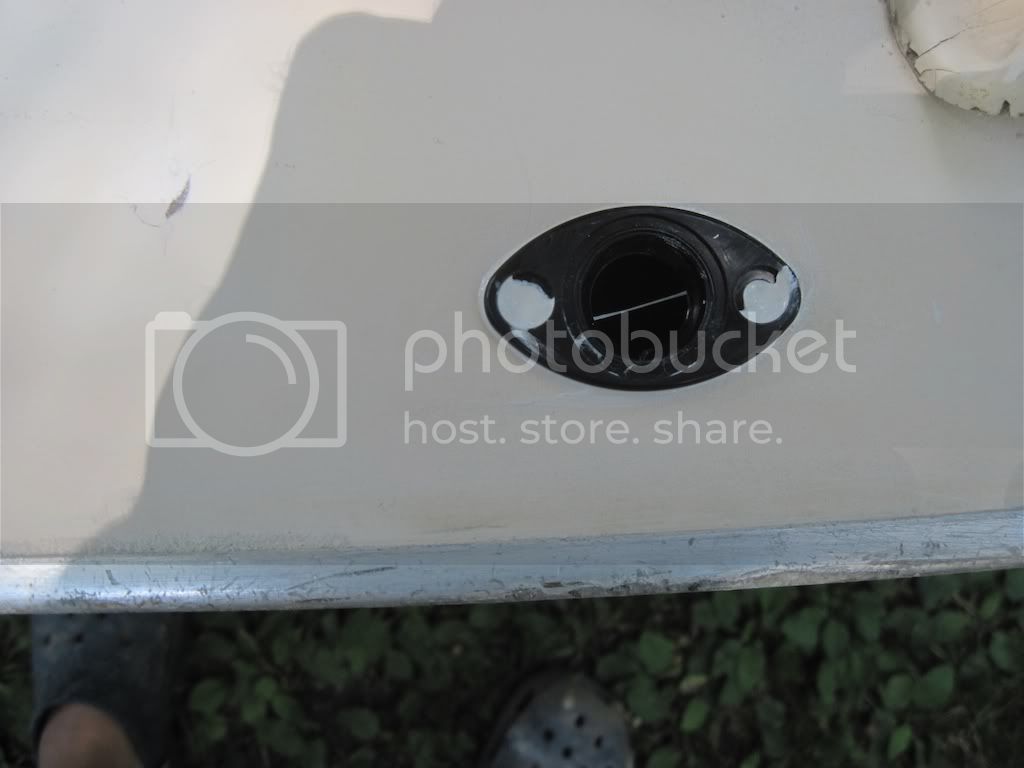
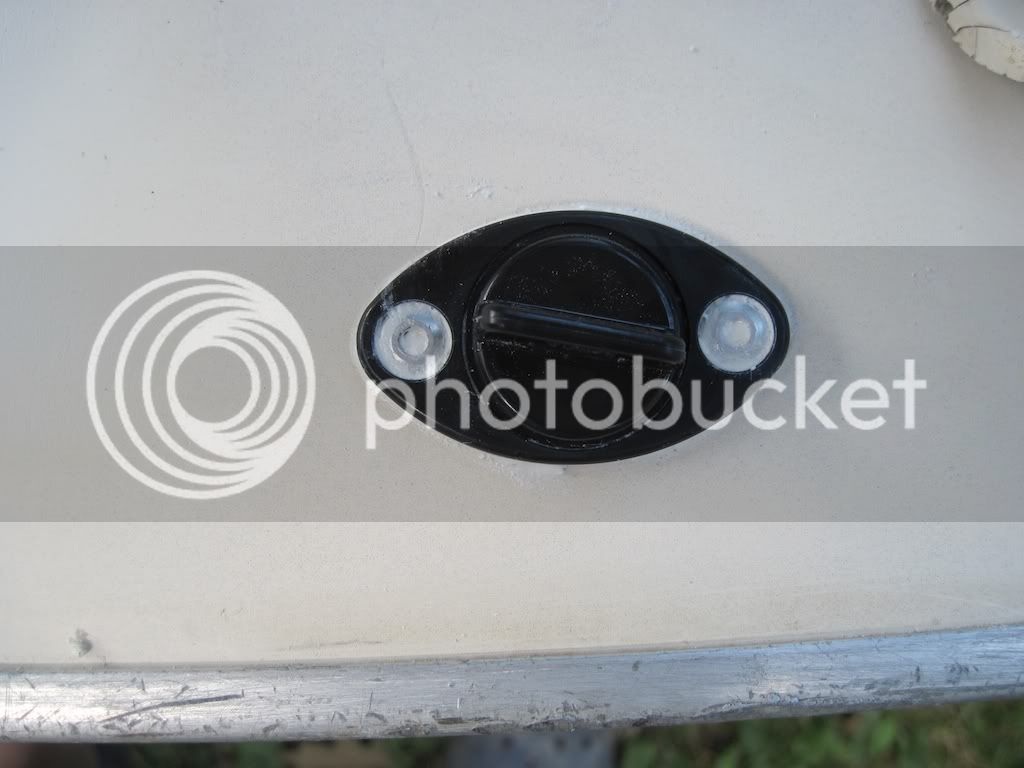
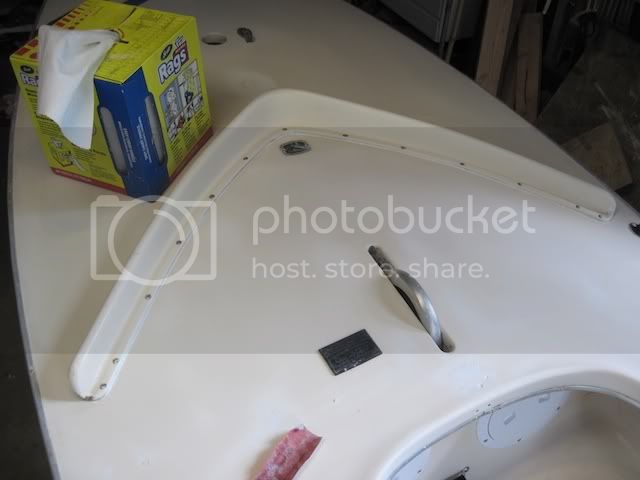
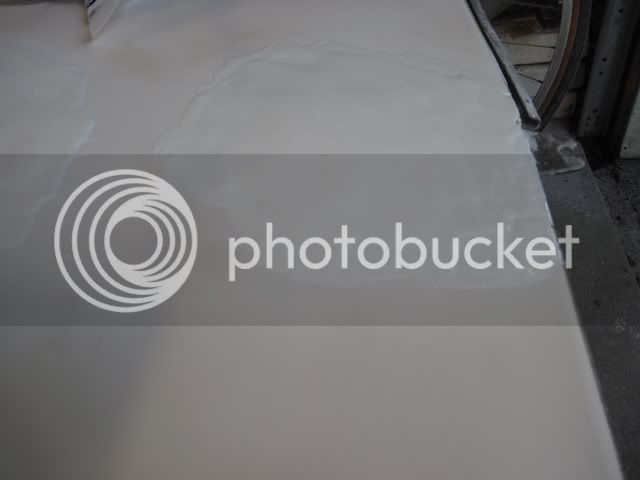
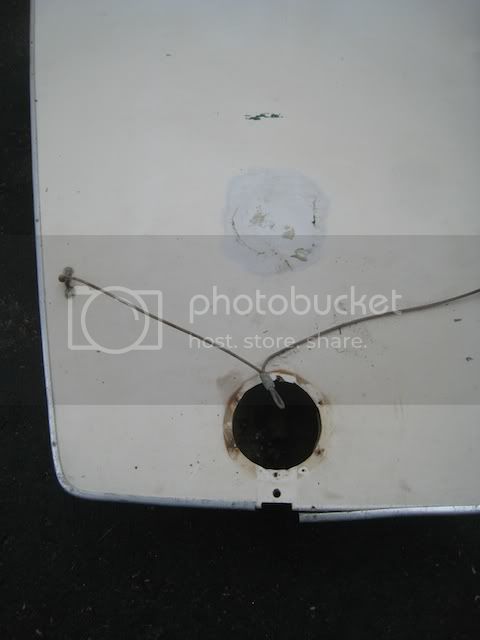
I've removed the deck cleats. Two different types, and one of each was missing. I tossed one out and kept the other as it was a decent cam cleat. The deck has been sanded with a random orbital and 220 grit, which cleaned it up OK. The coaming is in nice shape. I've already removed the old drain plug and will order a new plastic one soon.
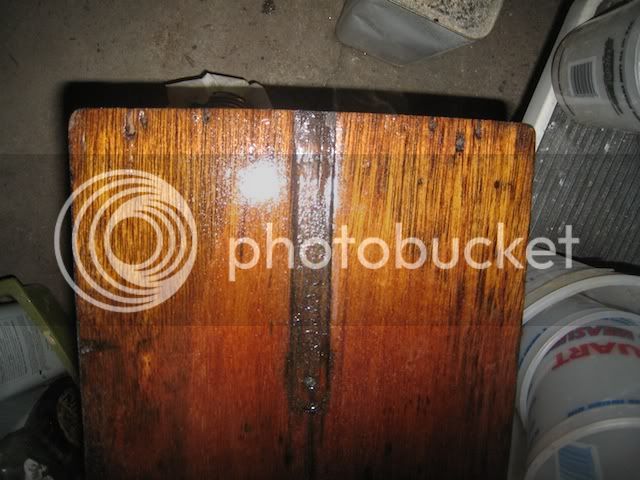
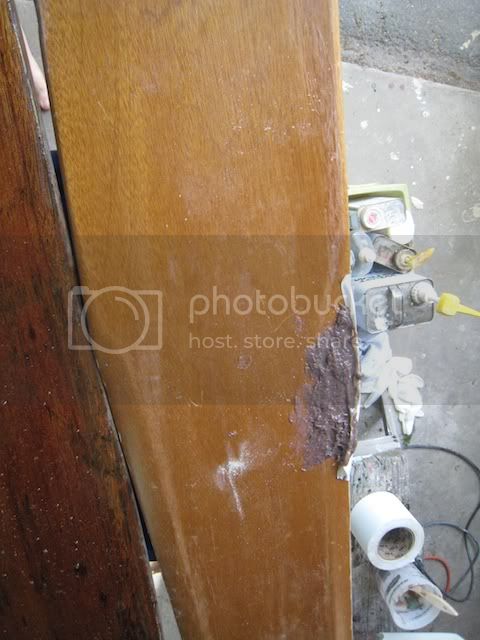
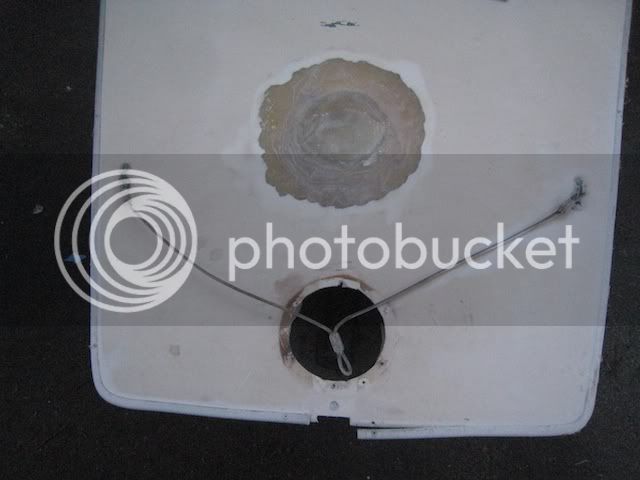
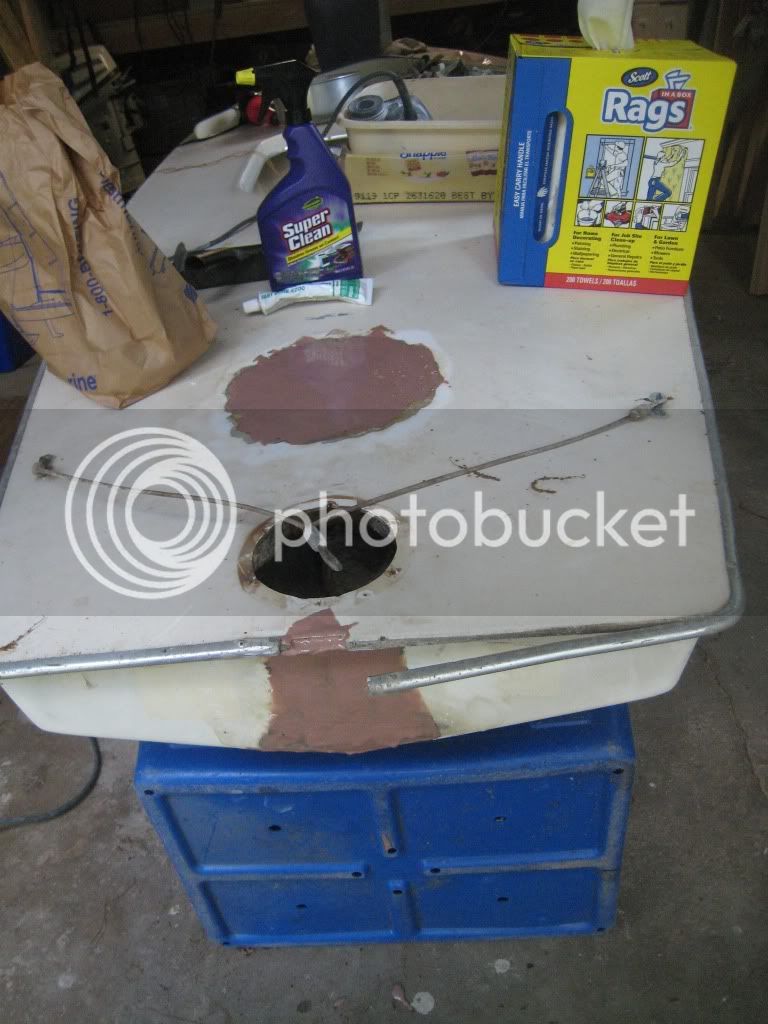
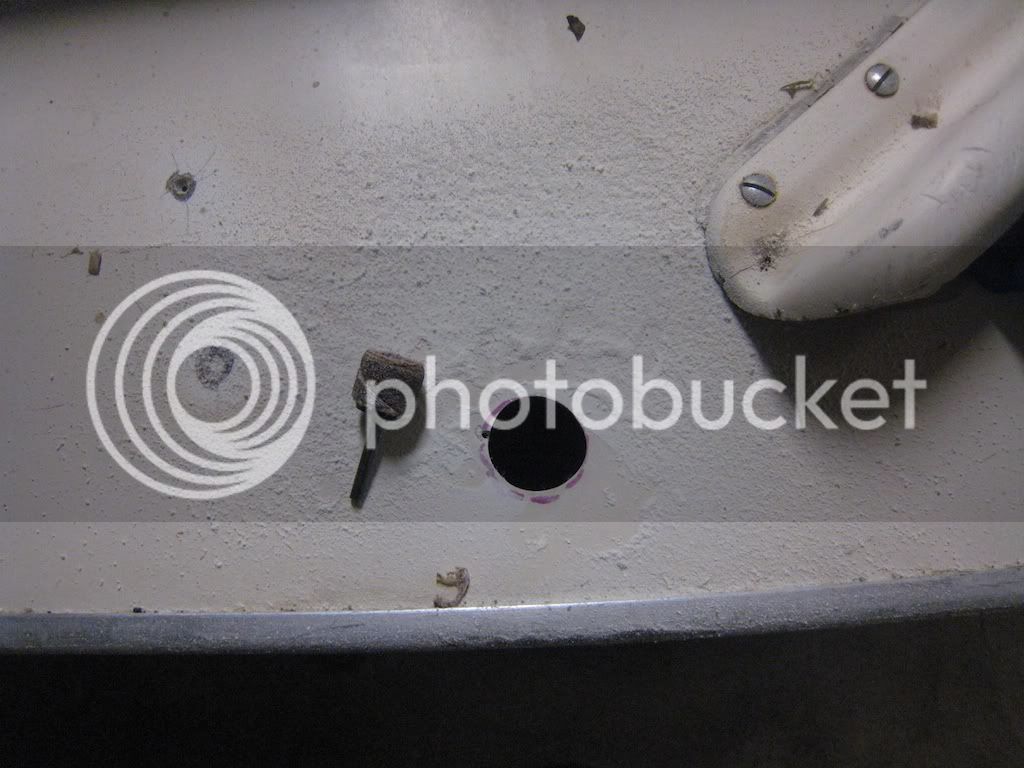
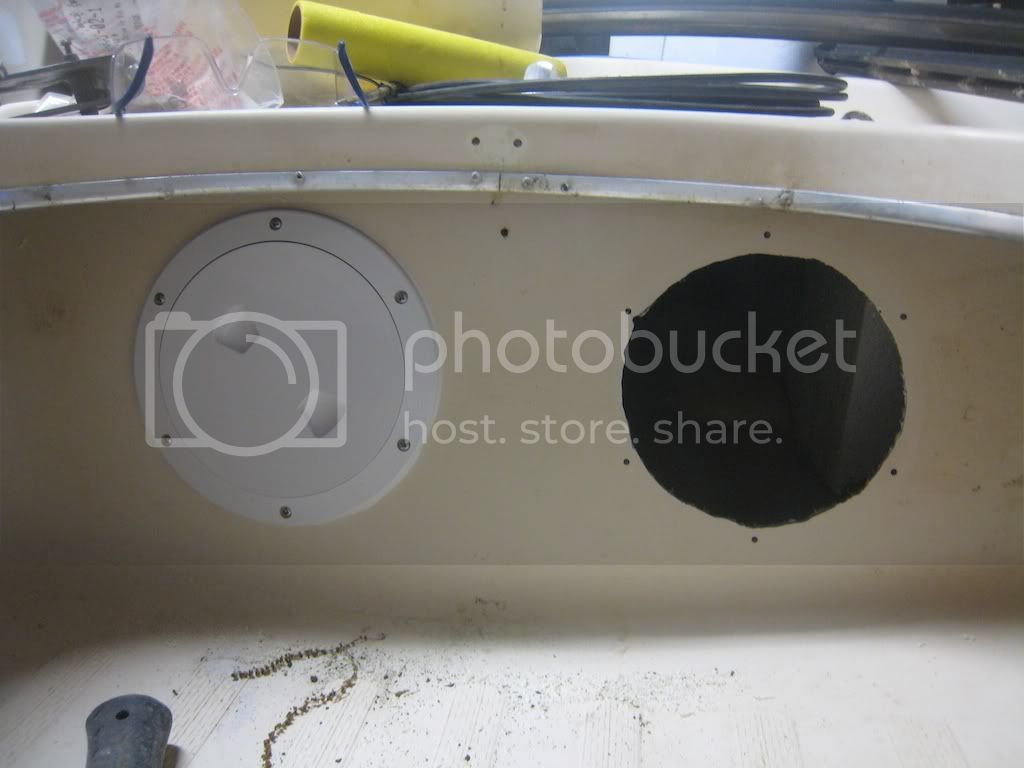
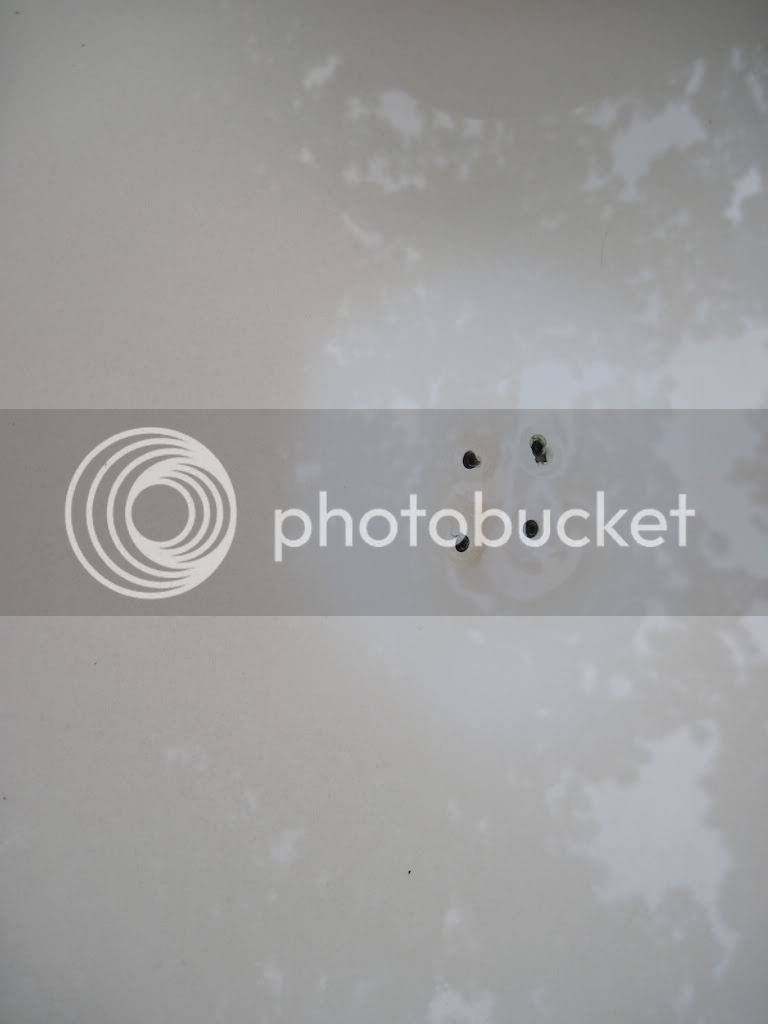
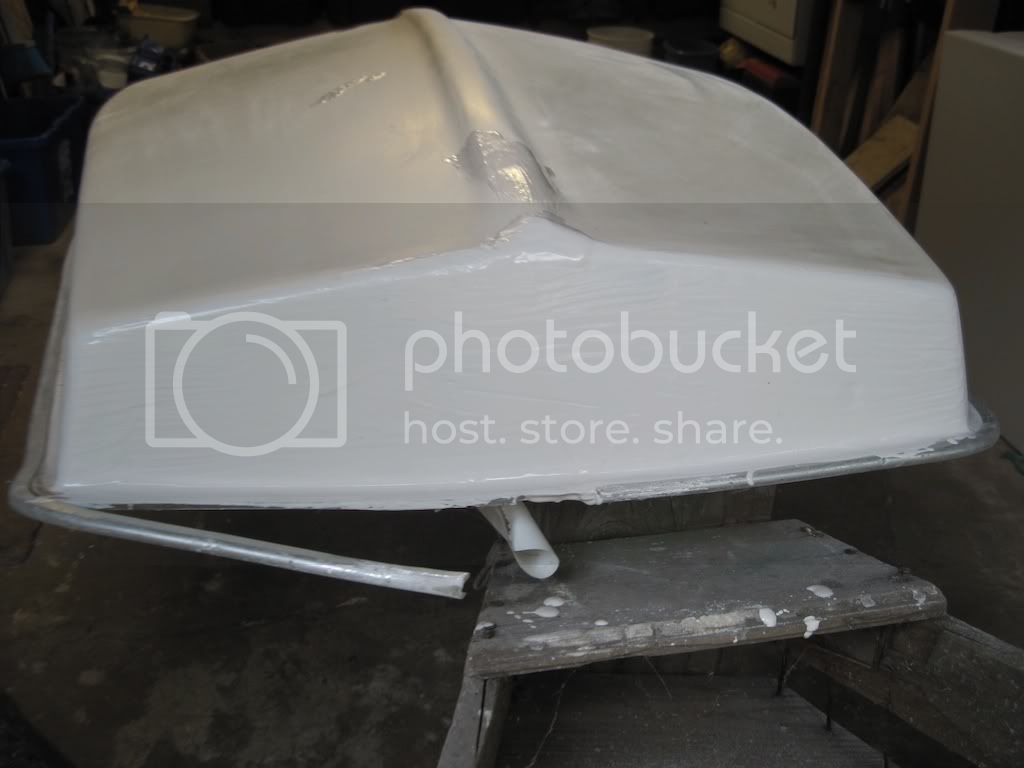
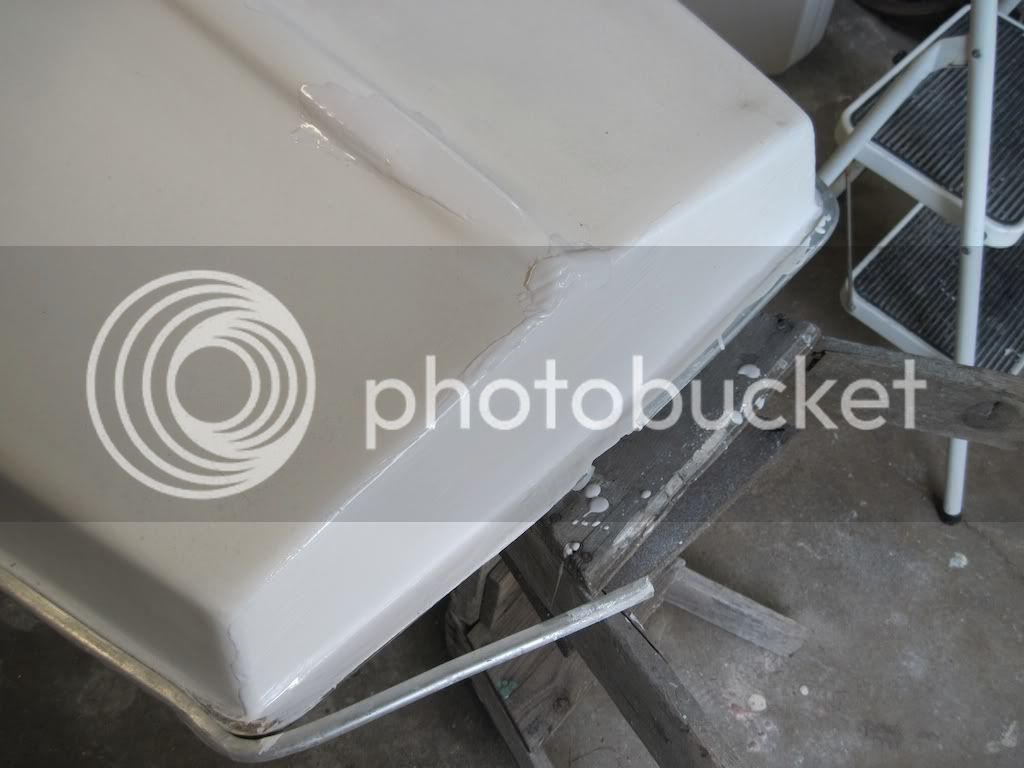
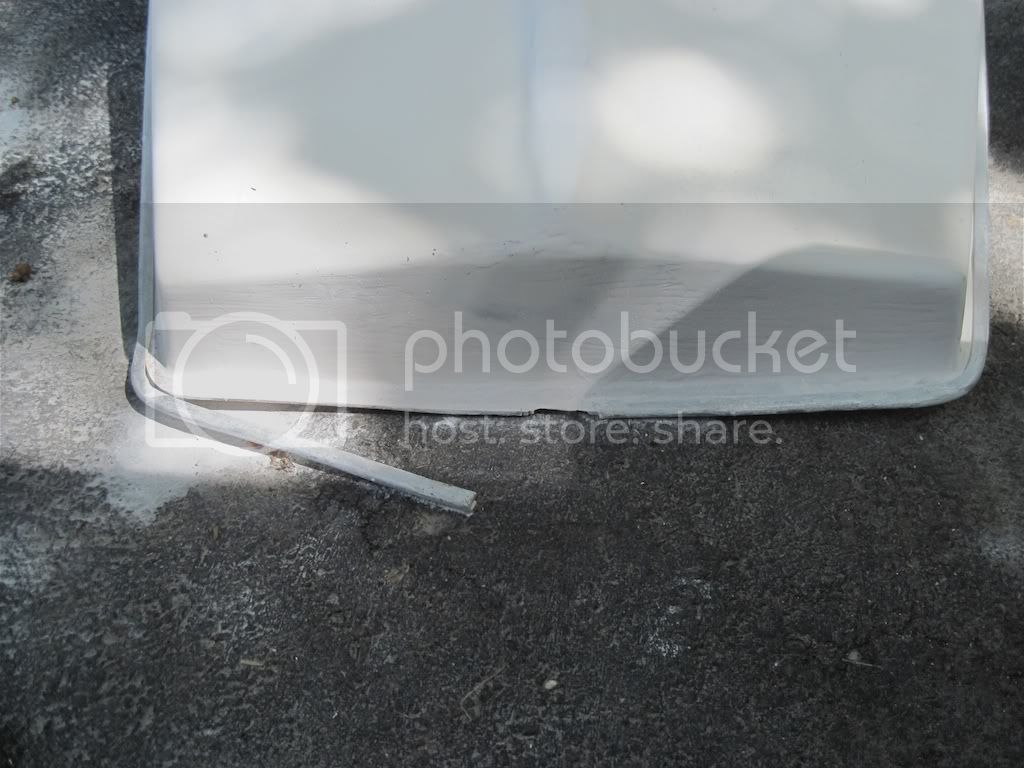
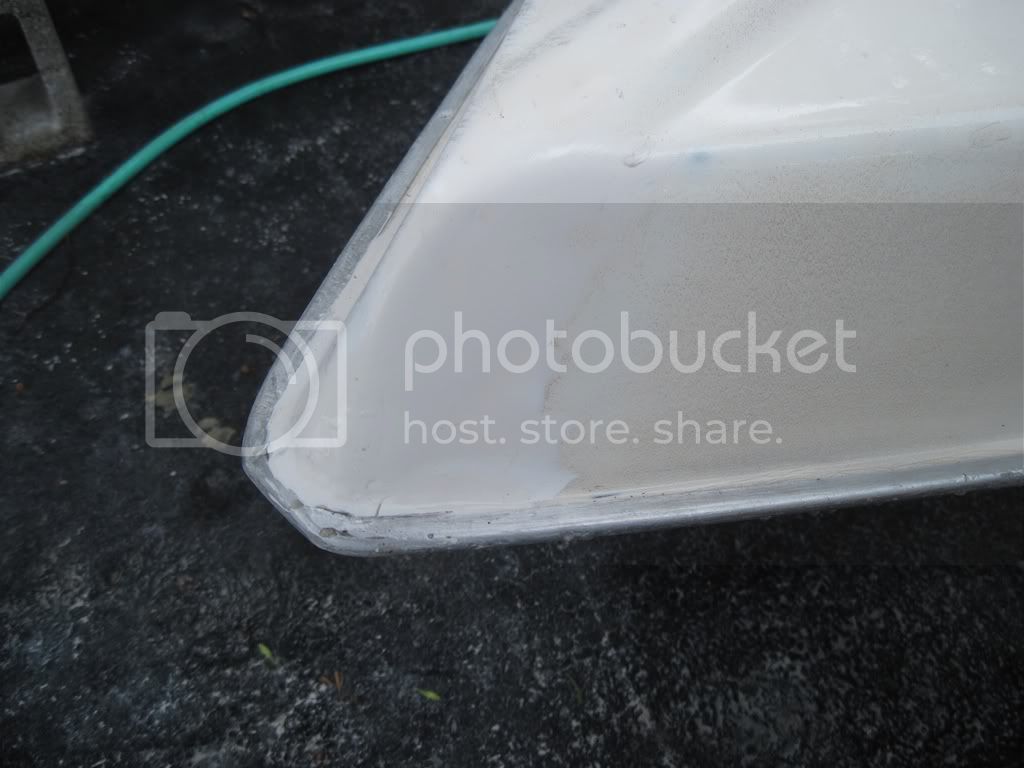
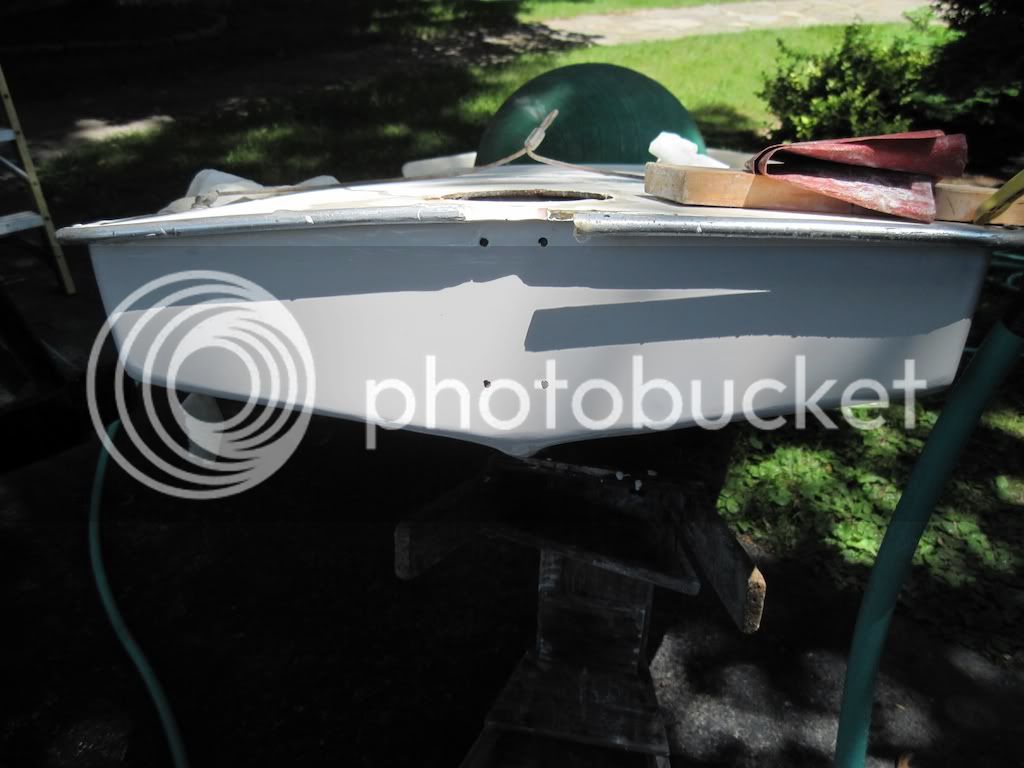
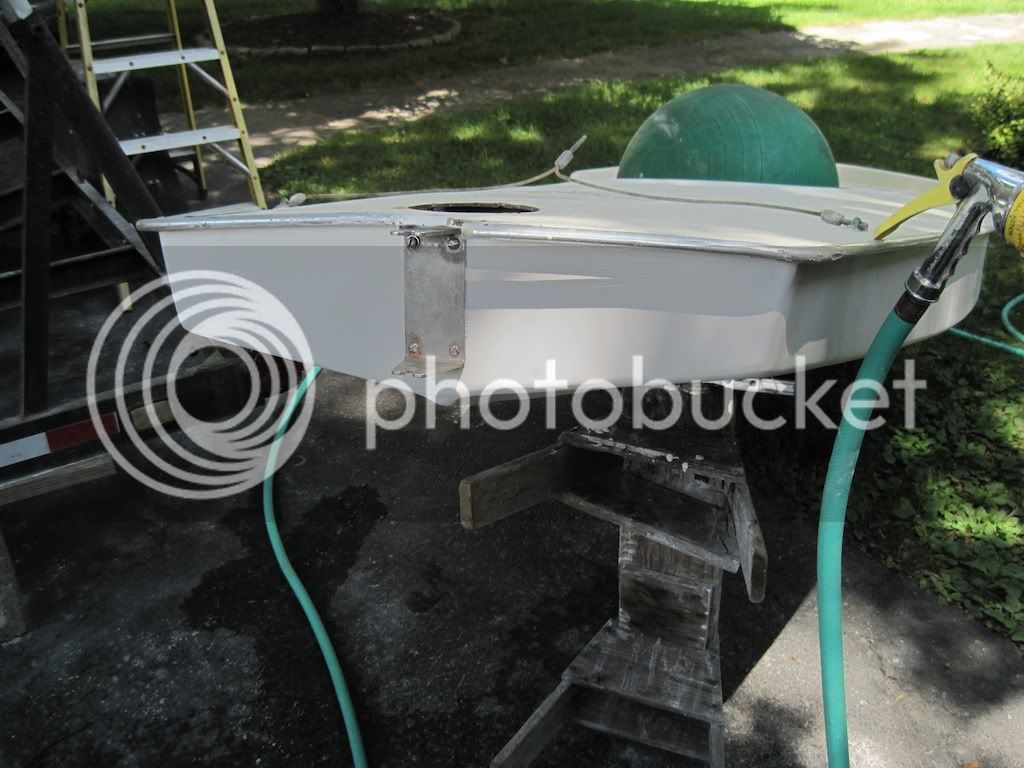
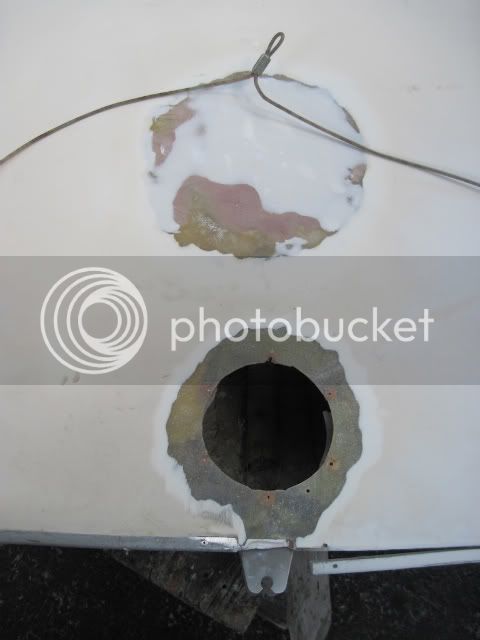
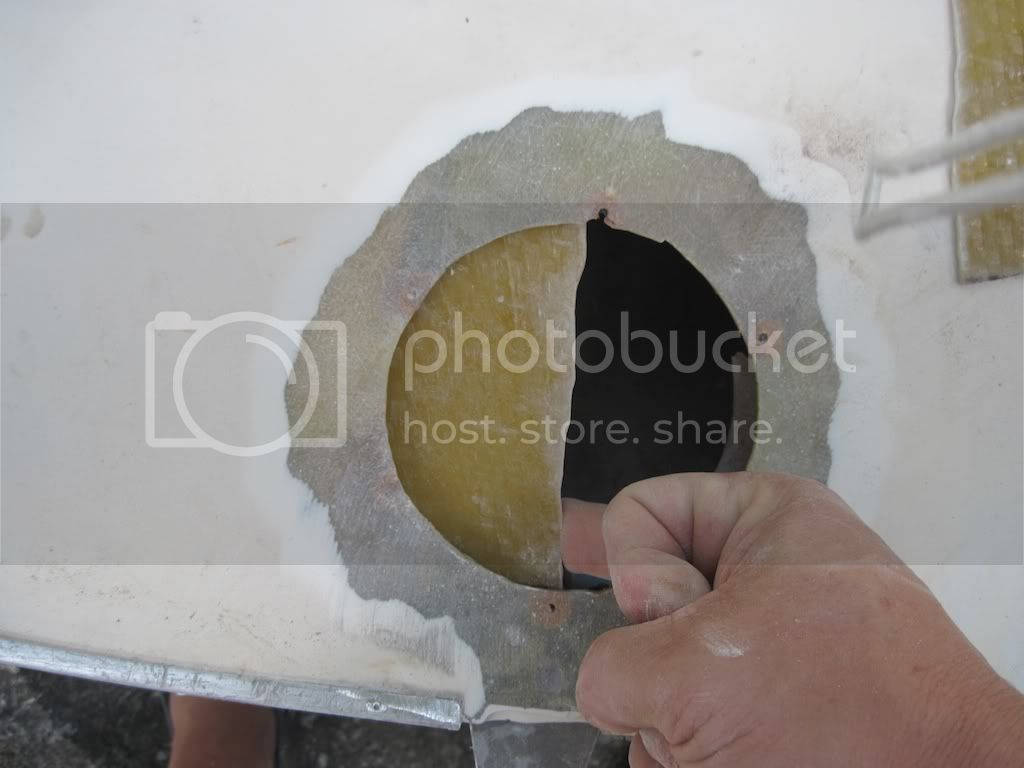
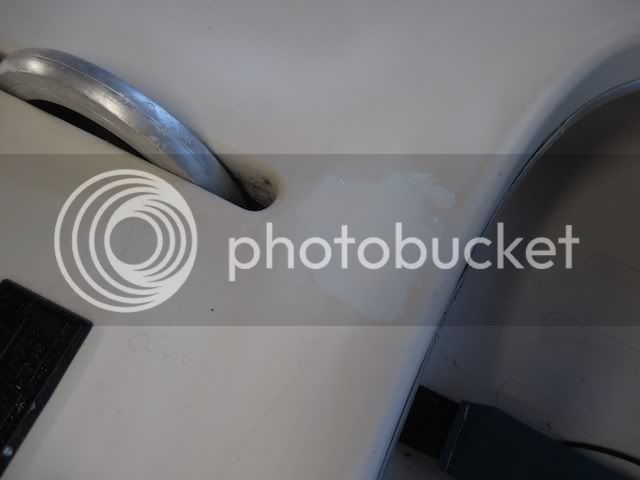
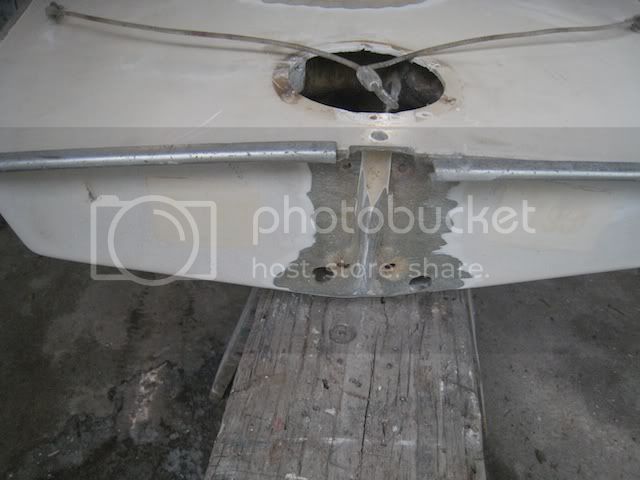
Here is the problem area. Two holes in the back. One was put on to update the rudder. The forward hole was held in place with some cheap stuff. It looked like the cut the hole in the wrong place and did a crappy patch--without any fiberglass! When I later sanded this down, the plug fell through. Almost nothing was holding it on. I'm sure it leaked.
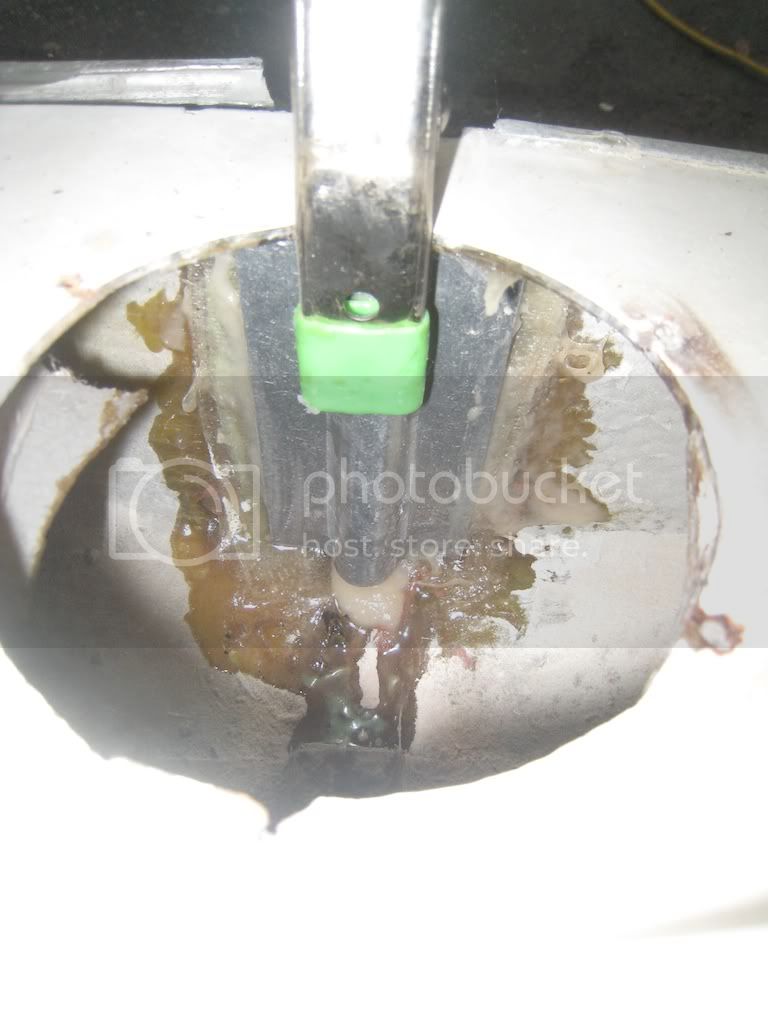
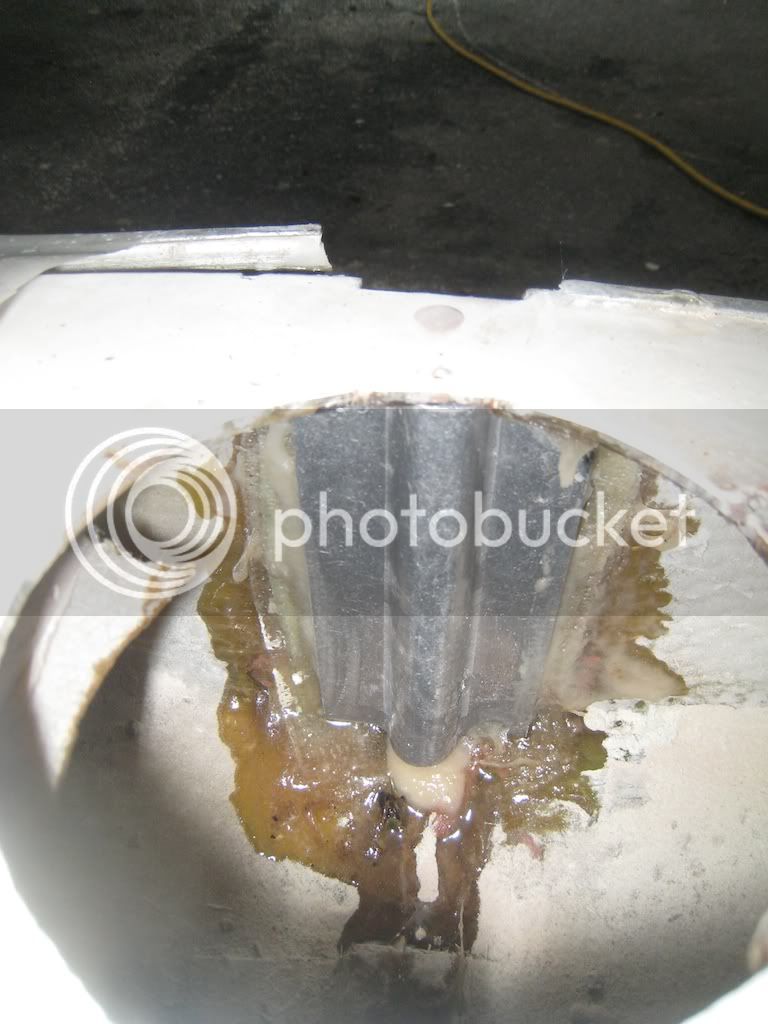
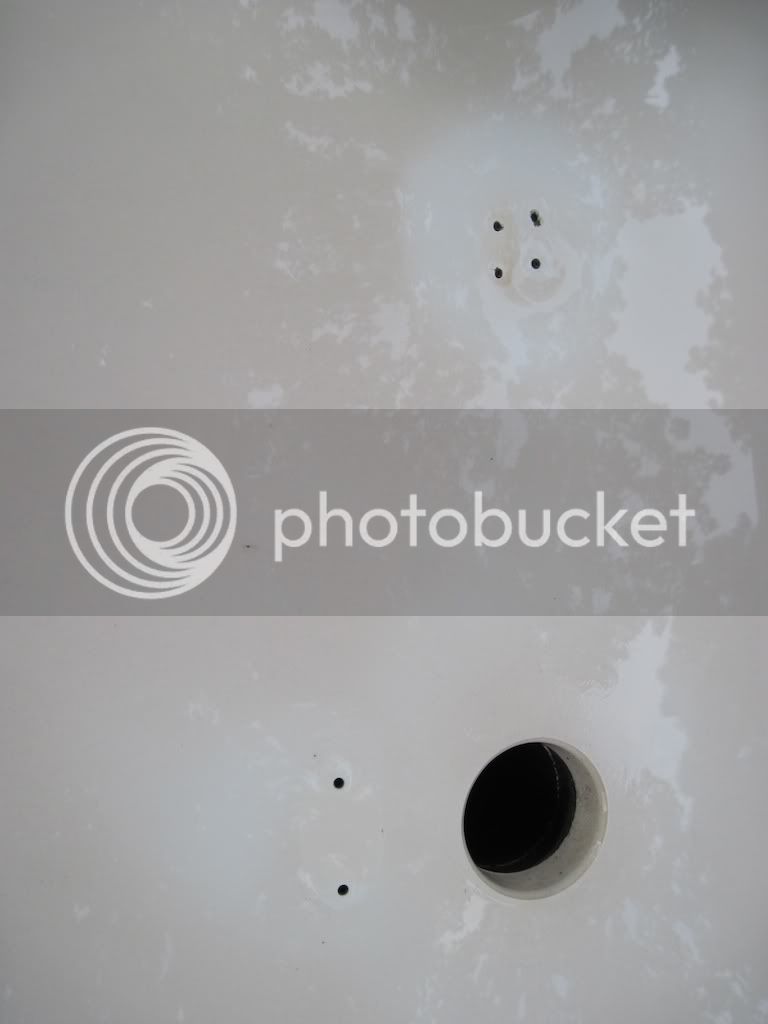
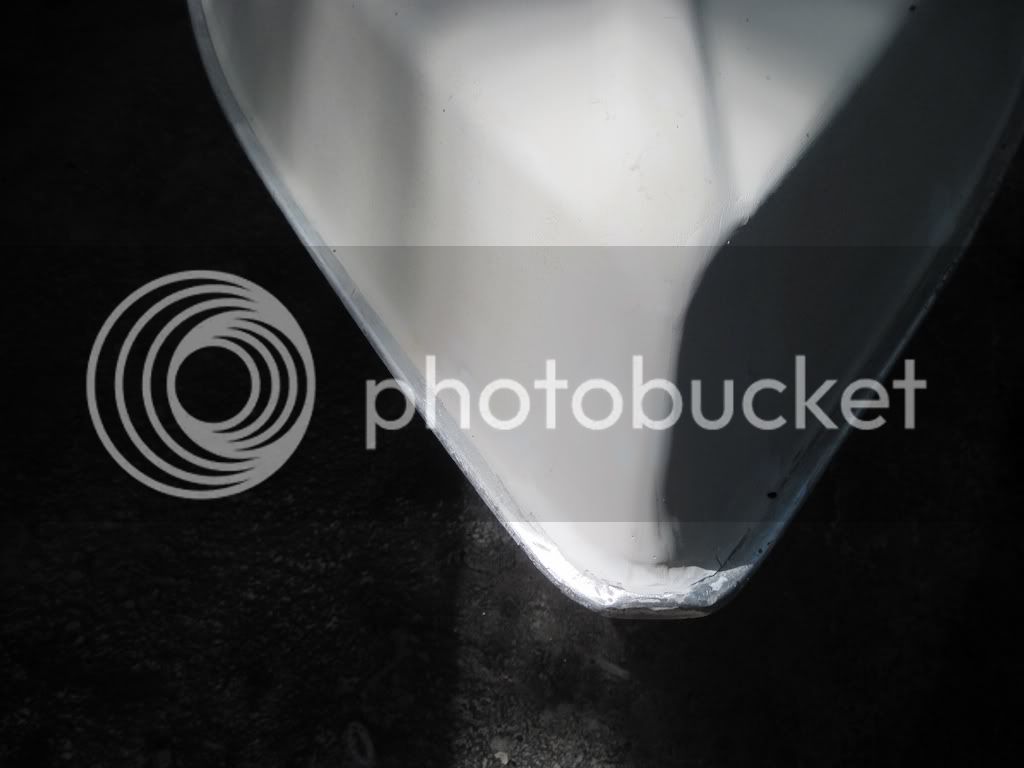
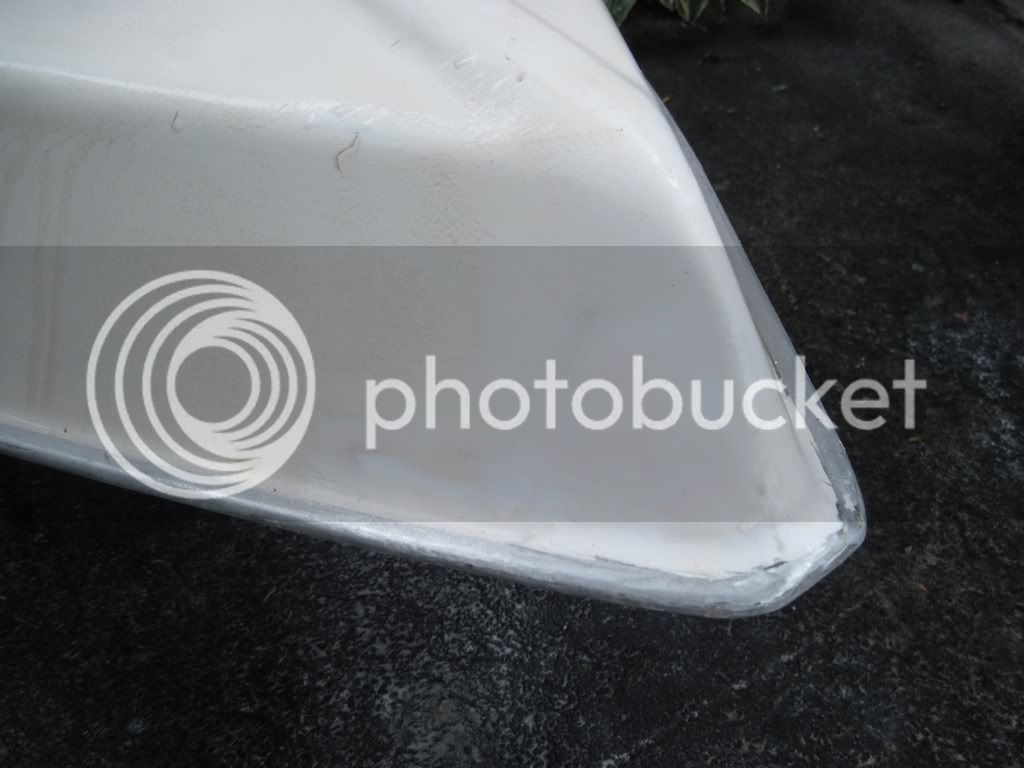
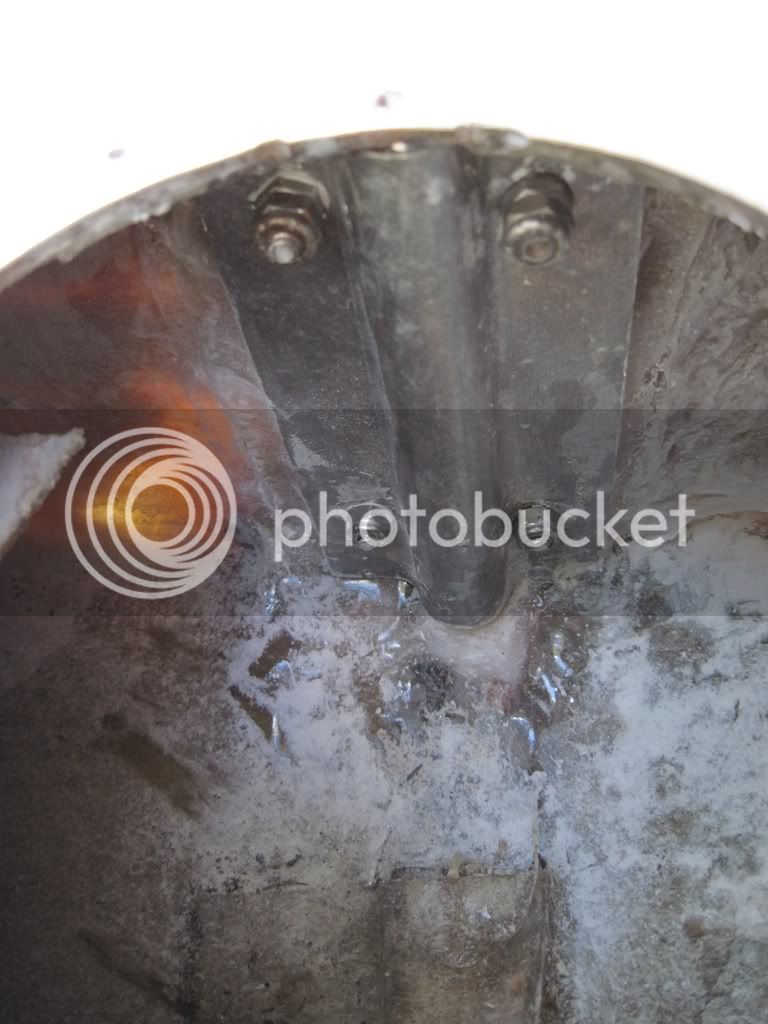
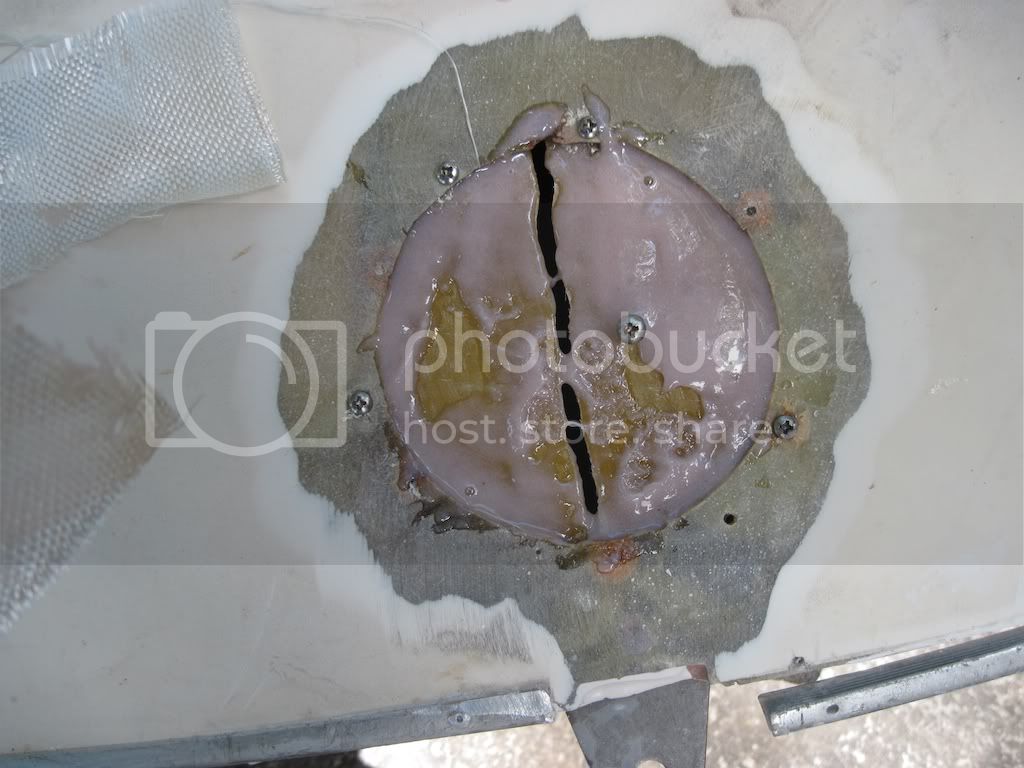
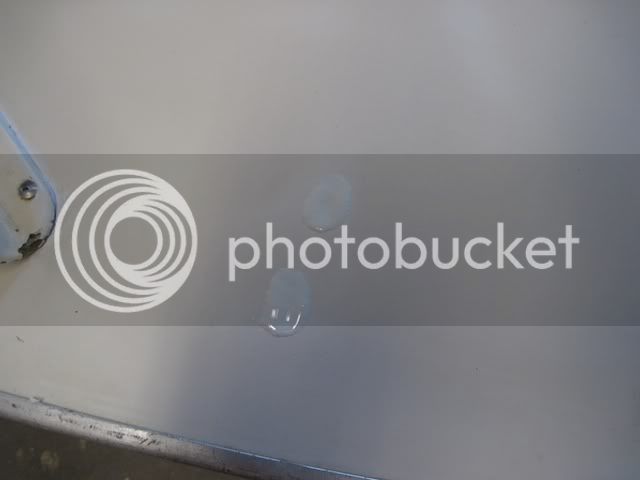
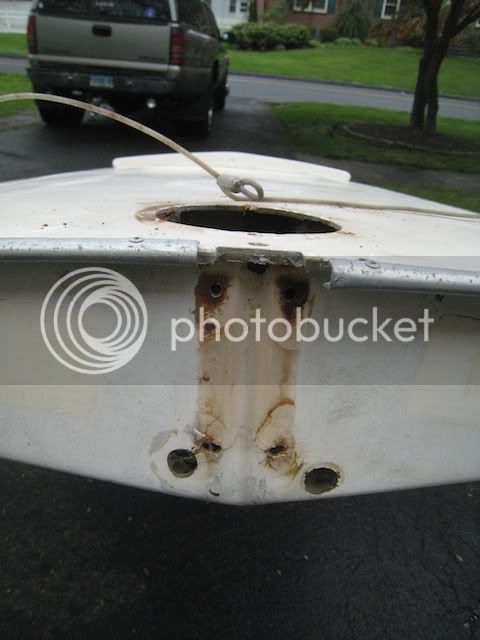
This rudder mount didnt' look too bad until I removed it. Massive amounts of silicone sealant was used and covered up much of the problem. One of the two holes had a rubber plug in it. The other filled with silicone. This boat must have been a leaker. Also notice the holes to secure the rudder bracket were too big. One of the holes had a crack because a backing plate was not used. That is worth fixing properly.
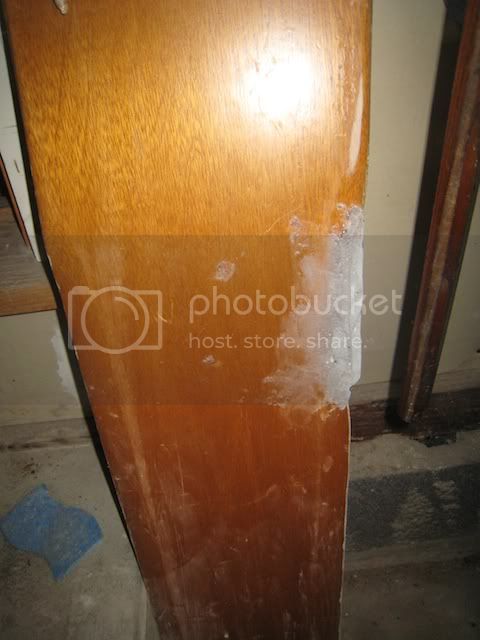
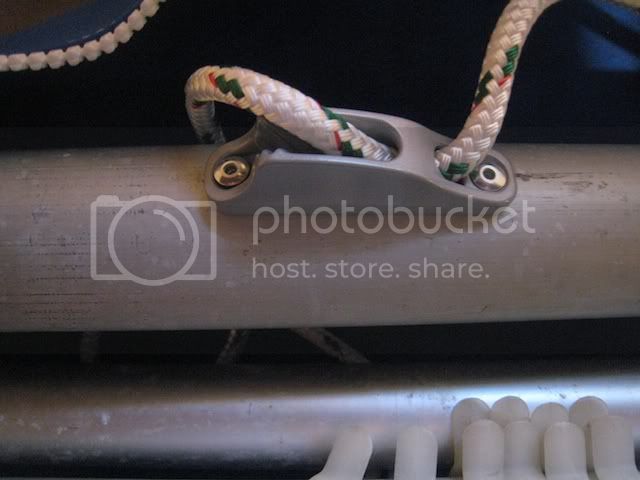
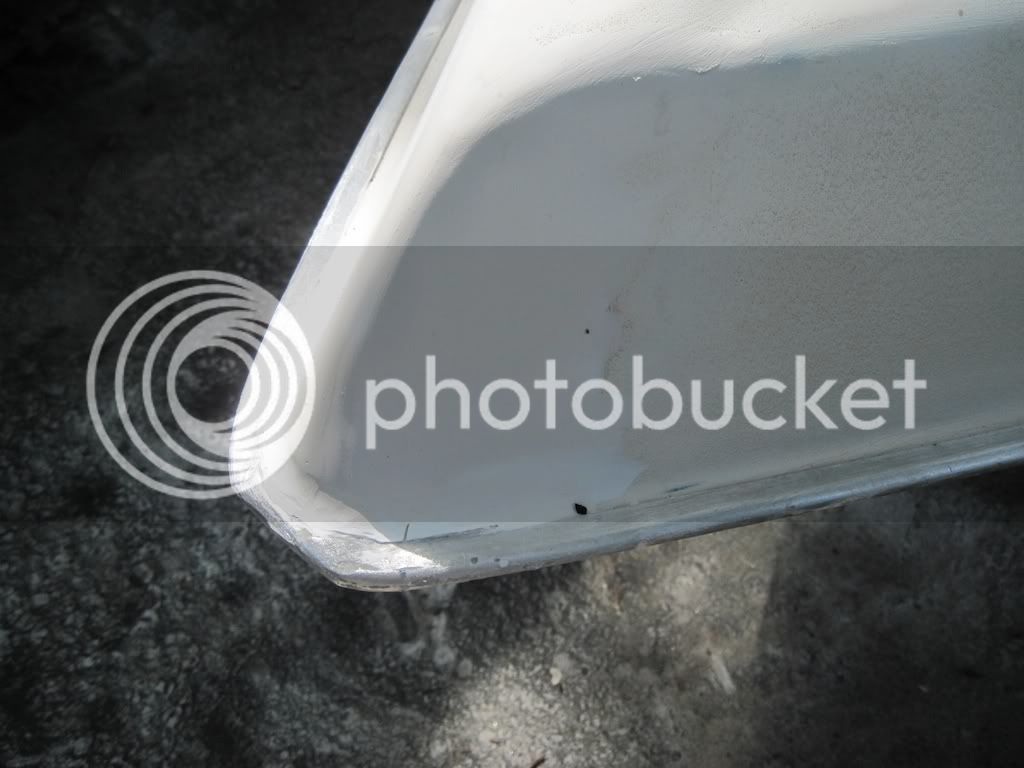
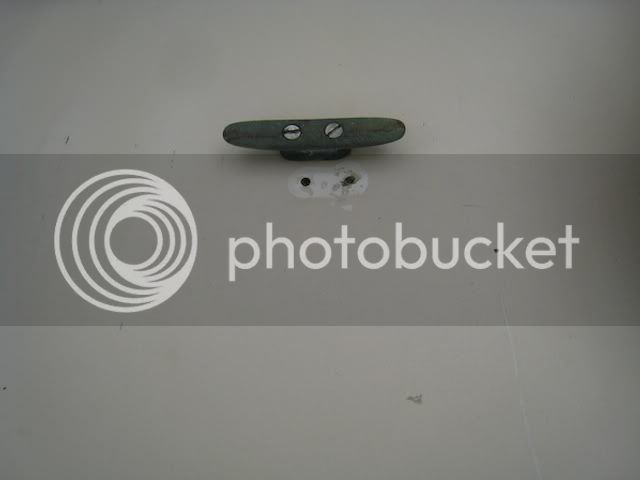
The halyard cleat was moved--probably because it came loose. The old holes were not filled in--more leaks there. This alone is a good reason to instal a racing clam cleat on the mast with two (2) 3/16" rivets. That has already been done. The rig has been repaired, has a new set of sail rings ready, and is awaiting a new sail already picked out.
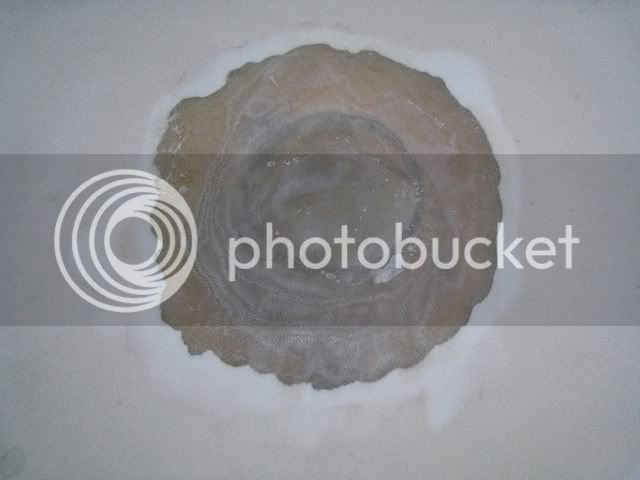
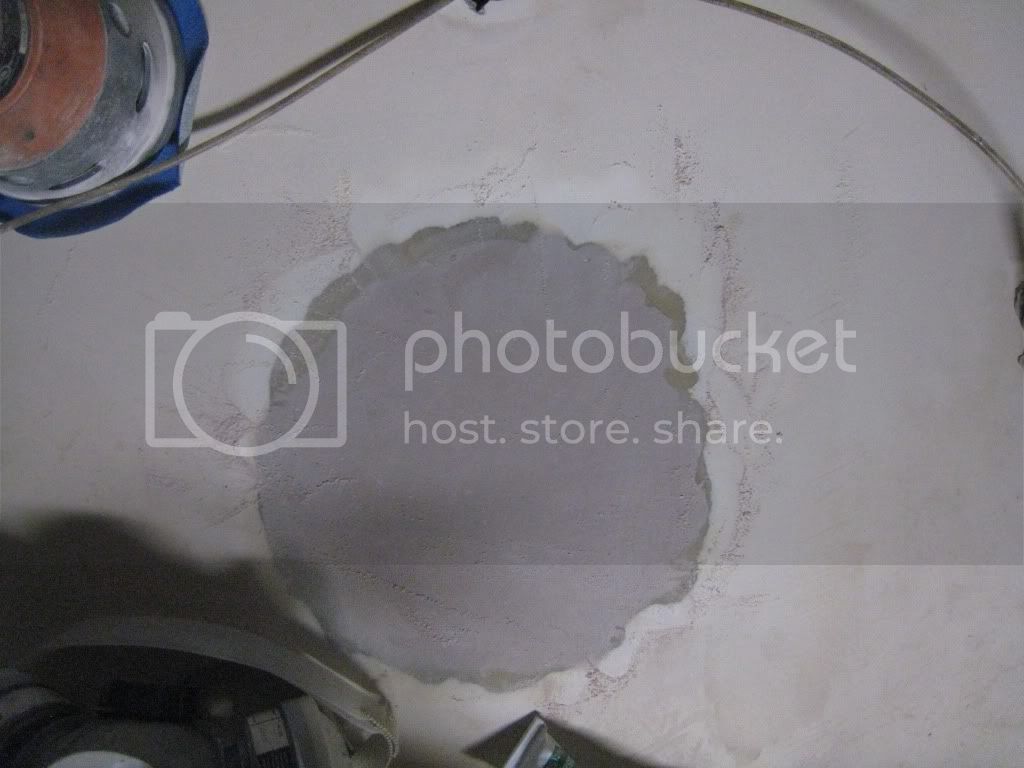
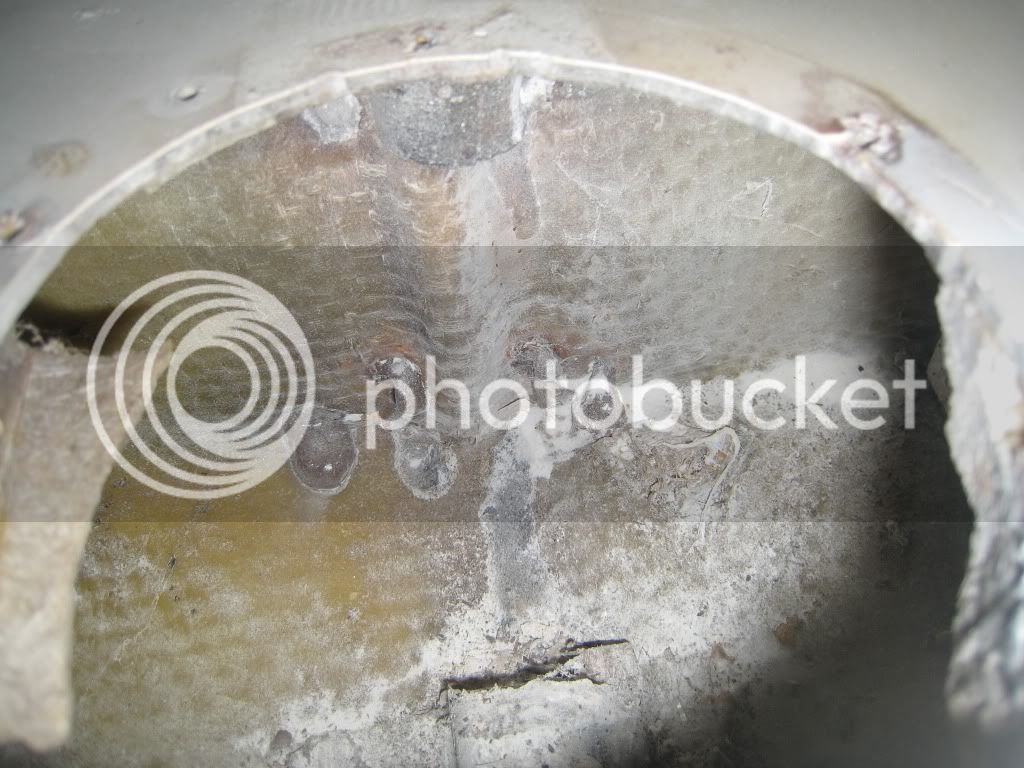
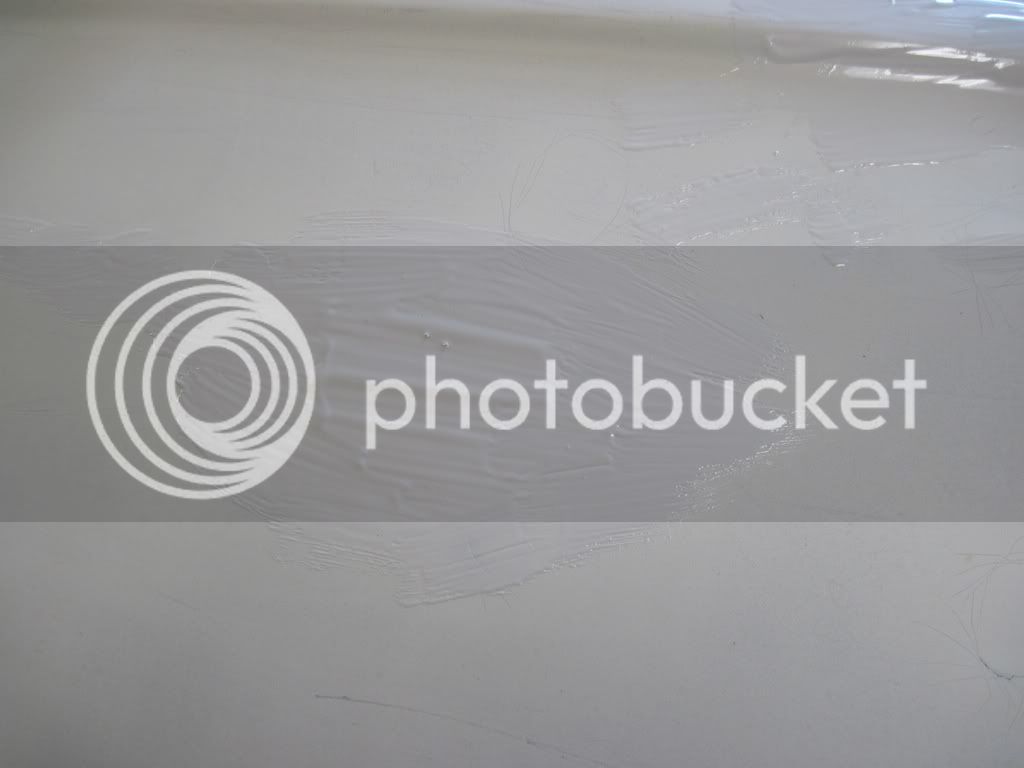
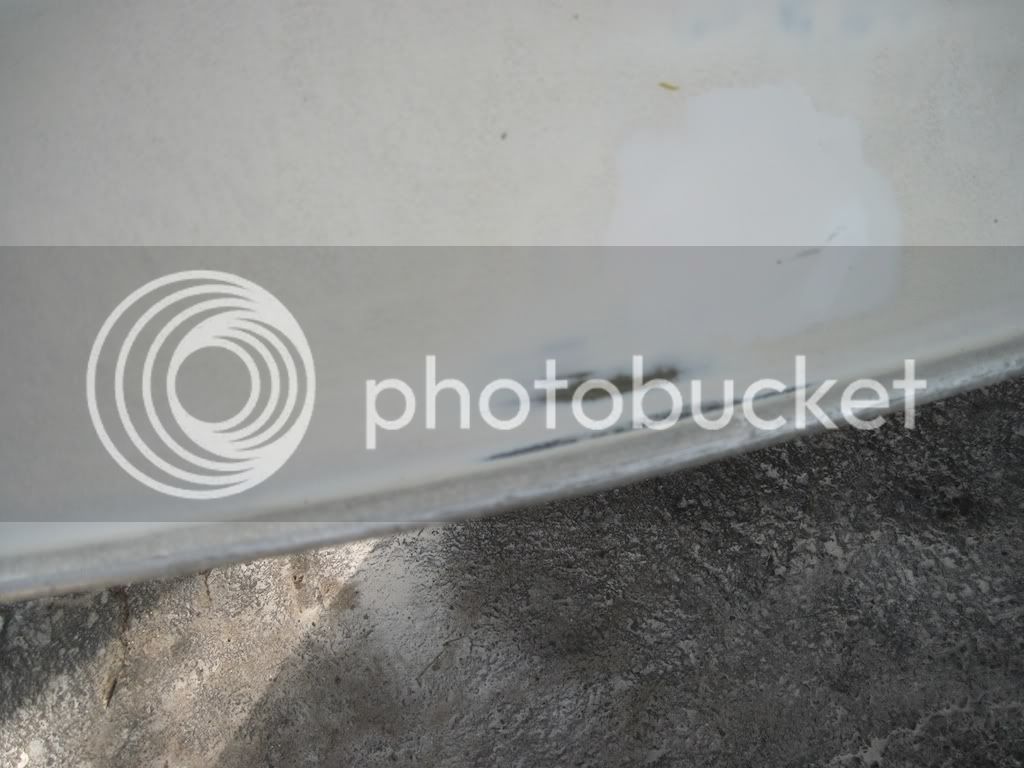
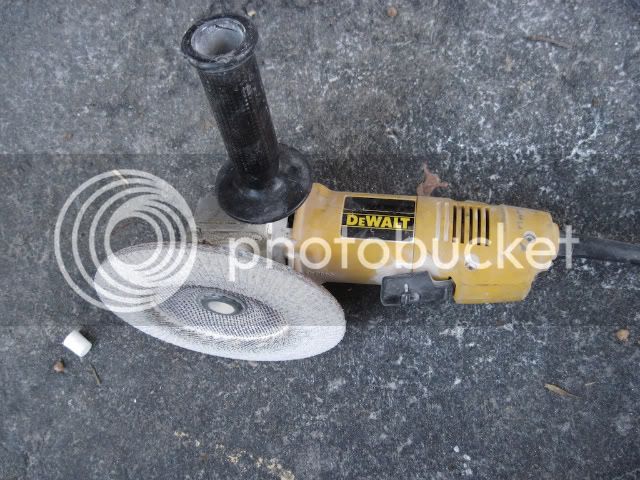
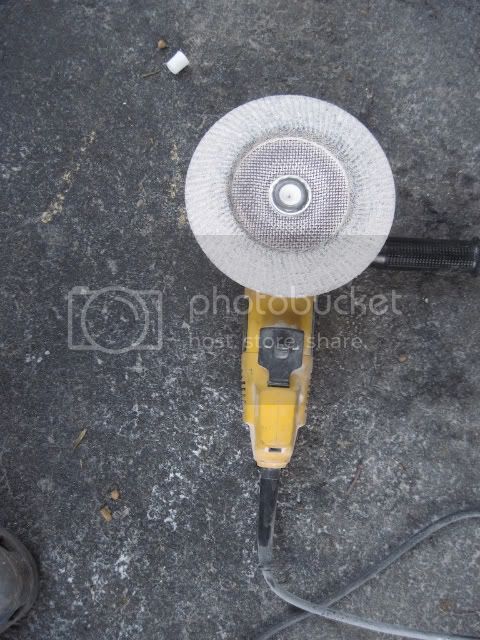
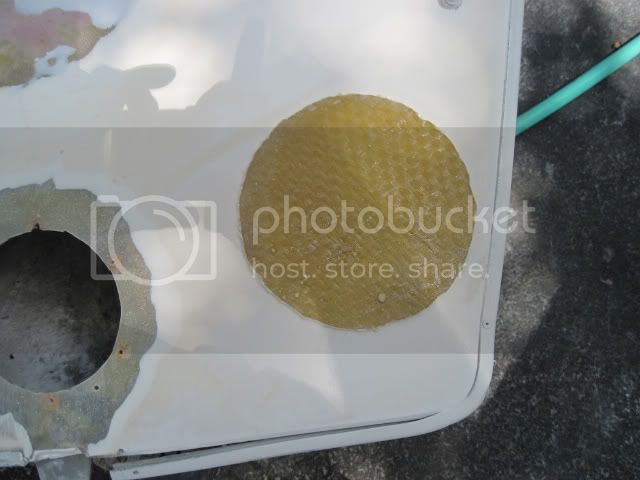
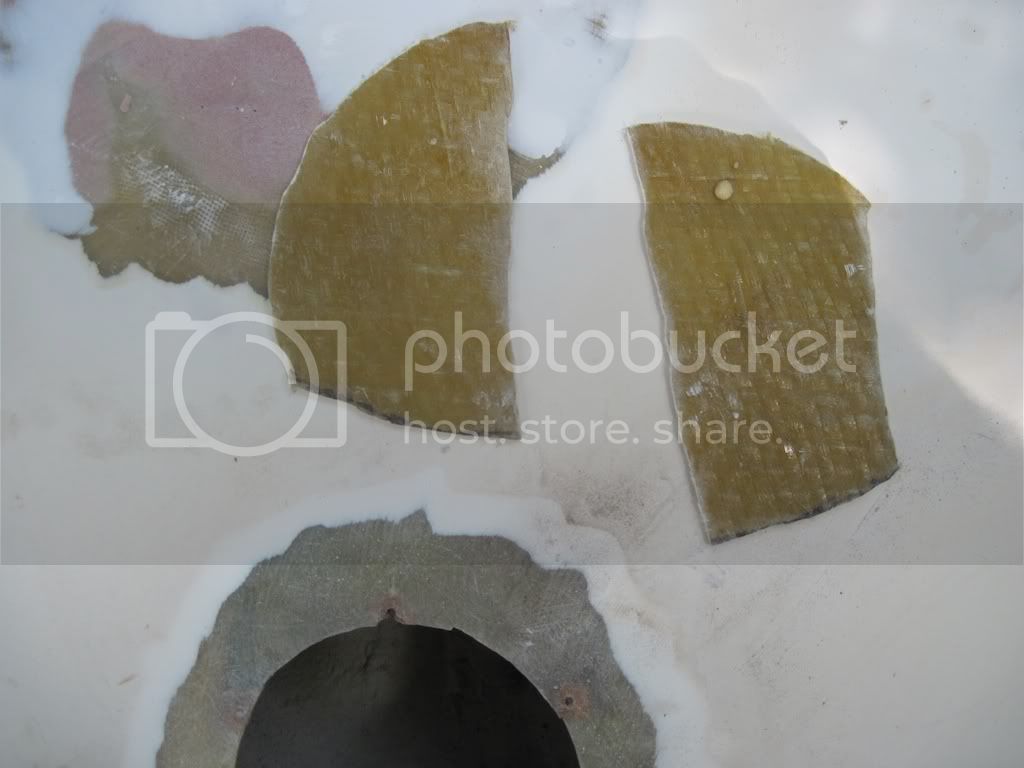
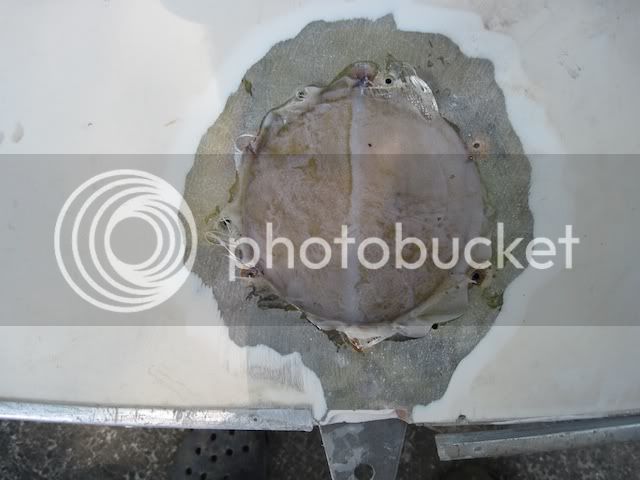
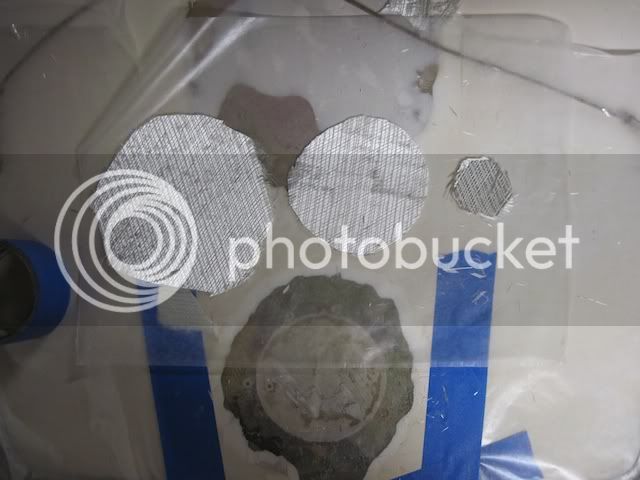
This shows the area around one hole ground back with a grinder in preparation for fiberglassing. I next cut fiberglass cloth in circles of decreasing size--6 of them, from the full width of the area prepared, down to about 3.5" across. I masked the area off with wax paper to keep things neat. I layed another piece of wax paper down on the deck and used that to build up my patch. The idea is to make a pyramid of cloth to fill the hole, for maximum bonding. A bevel is cut in the deck, and the base is laid in there with smaller patches on top. Only I have a fast way, I developed for working on hulls. I make the whole multi-layer patch at once and slap it on and force the excess resin, and air bubbles out.
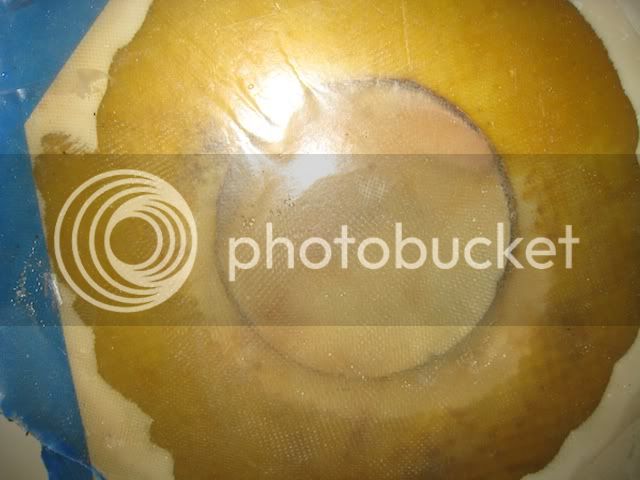
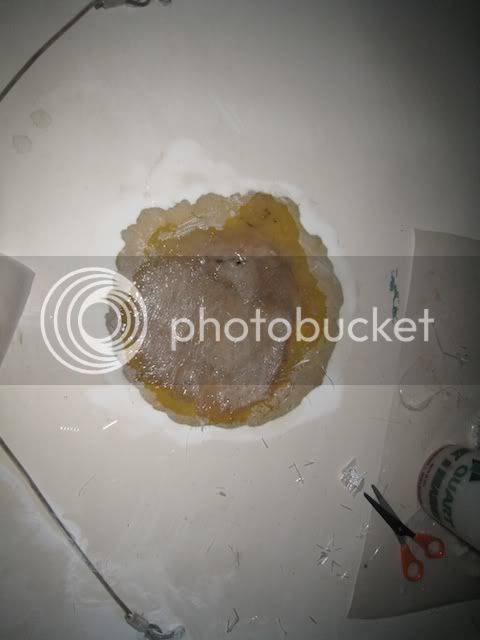
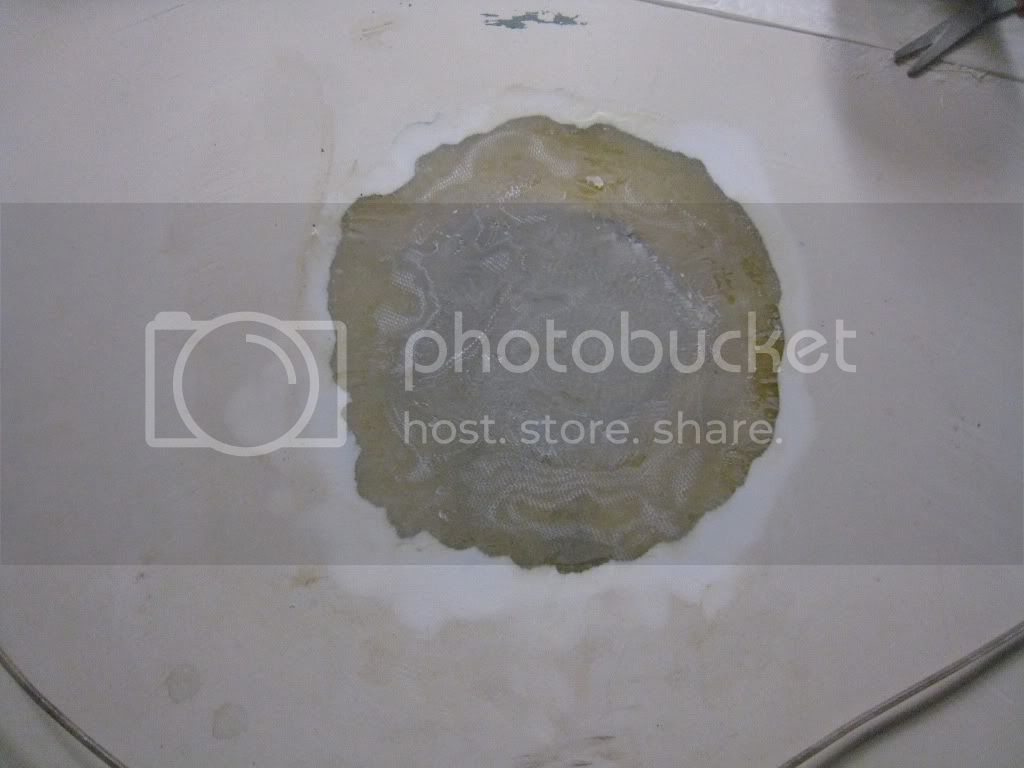
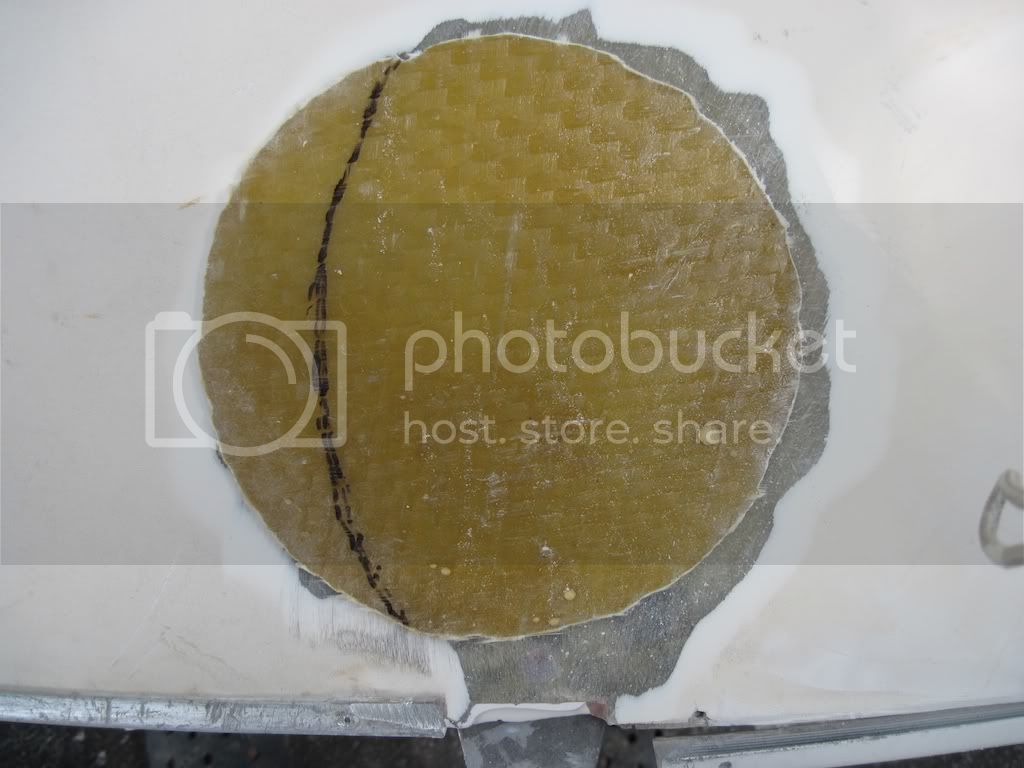
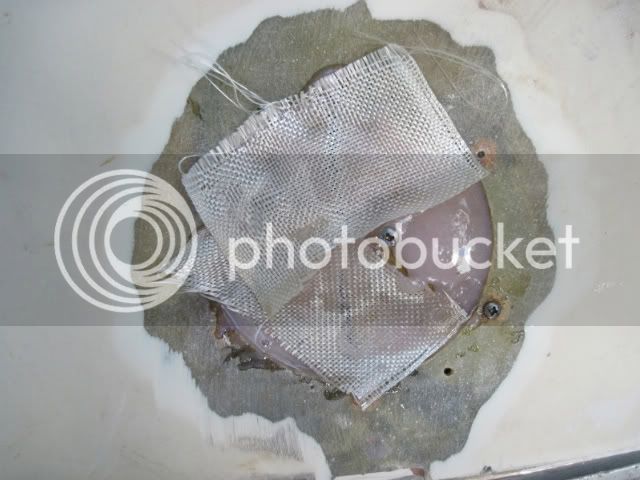
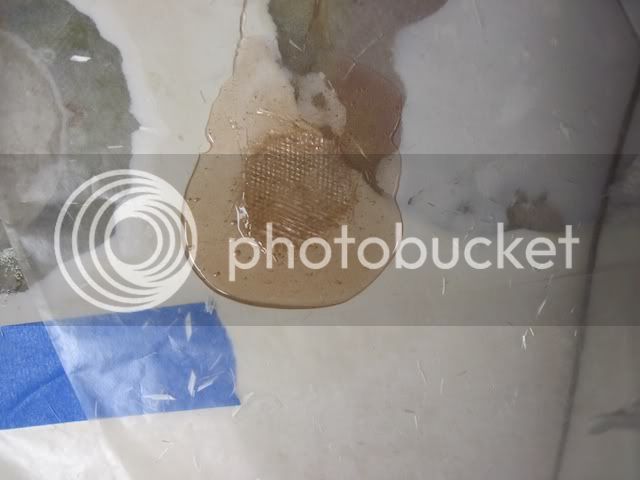
Here is how it works. I mixed some epoxy and poured a bit on the wax paper and laid down the smallest circular patch of fiberglass cloth and wet it out, then a bit more epoxy and the next larger piece of cloth, and so on until I had the largest piece all wet and ready to go. My pyramid is upside down on the wax paper.
The largest piece goes next to the hole--that is why I started with the smallest piece, because I flipped this patch onto the hole--which puts what was the top piece, now on the bottom.
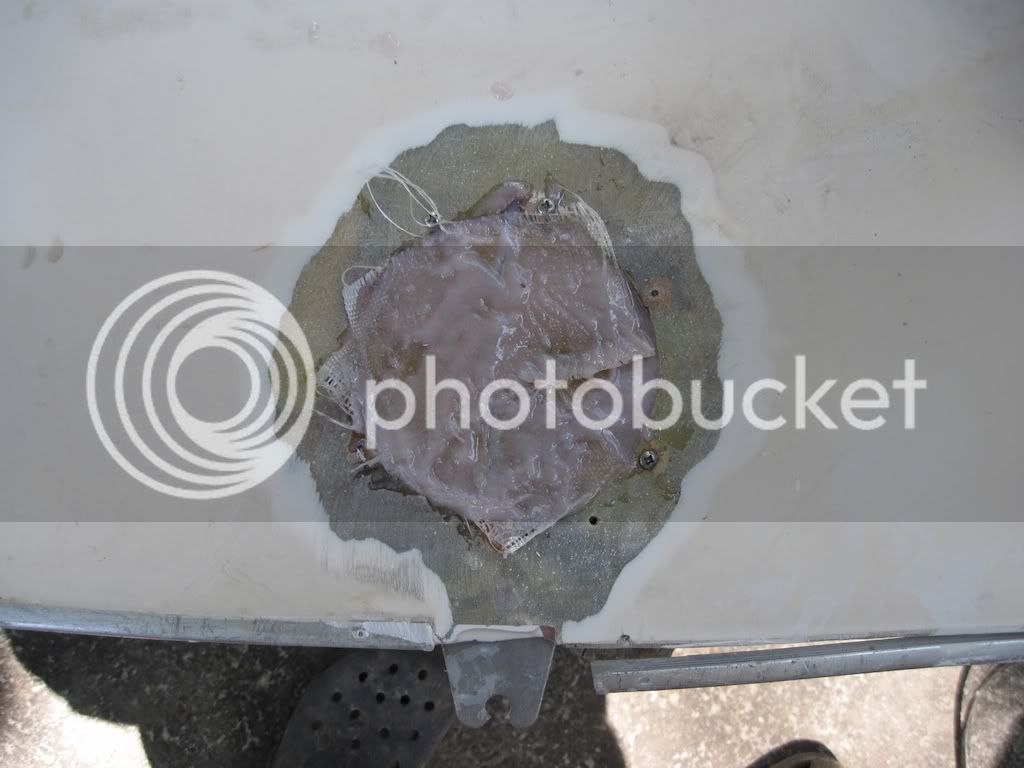
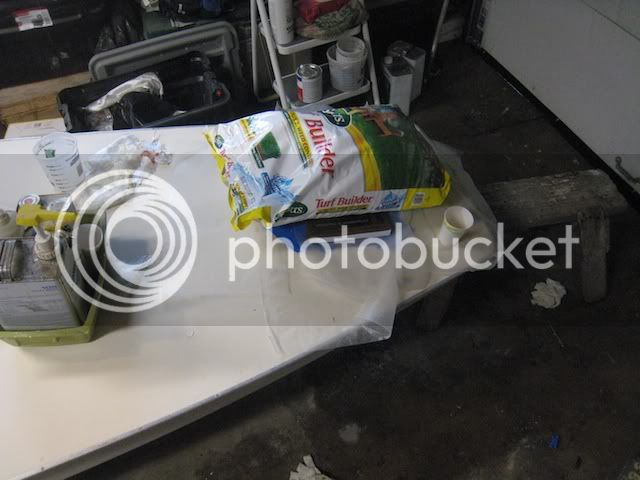
To keep the middle from sinking in, I used the piece of glass and foam that was there originally, and propped up with a paper cup to keep the middle from sinking when I flipped the patch over. I spent a few minutes working the bubbles out and then I placed a large paperback book on top of another layer of clean wax paper, and then a heavy bag of turf building on top for weight--sandbags, or bags of anything that will put even pressure on the book ensures a tight bond with minimal resin. Resin doesn't make it strong, it just holds it together. The Fiberglass cloth makes the patch strong. I made sure the turf builder sack was also on the bridle so the whole patch wouldn't slide off.
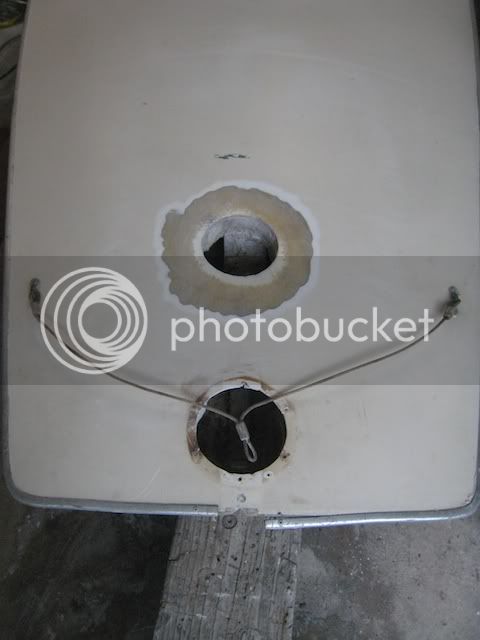
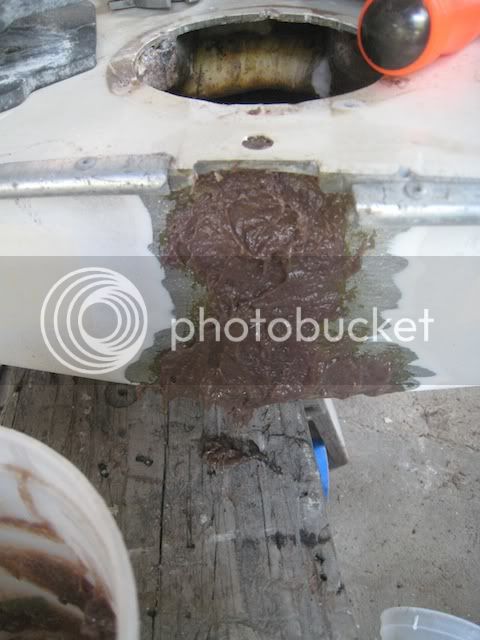
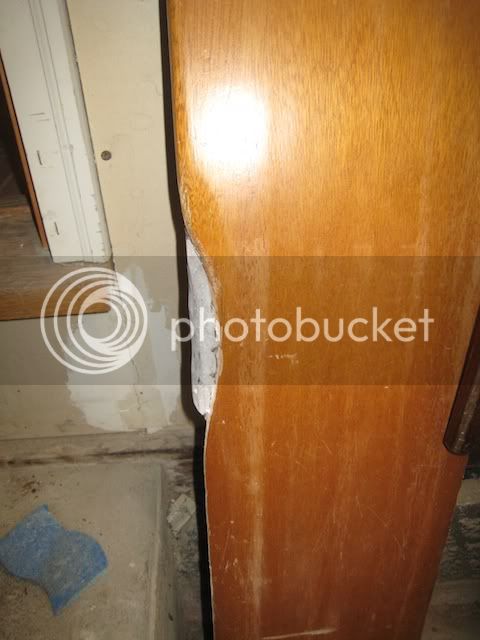
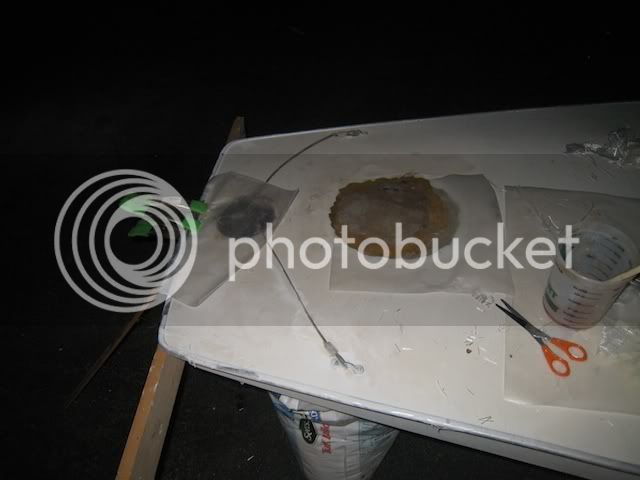
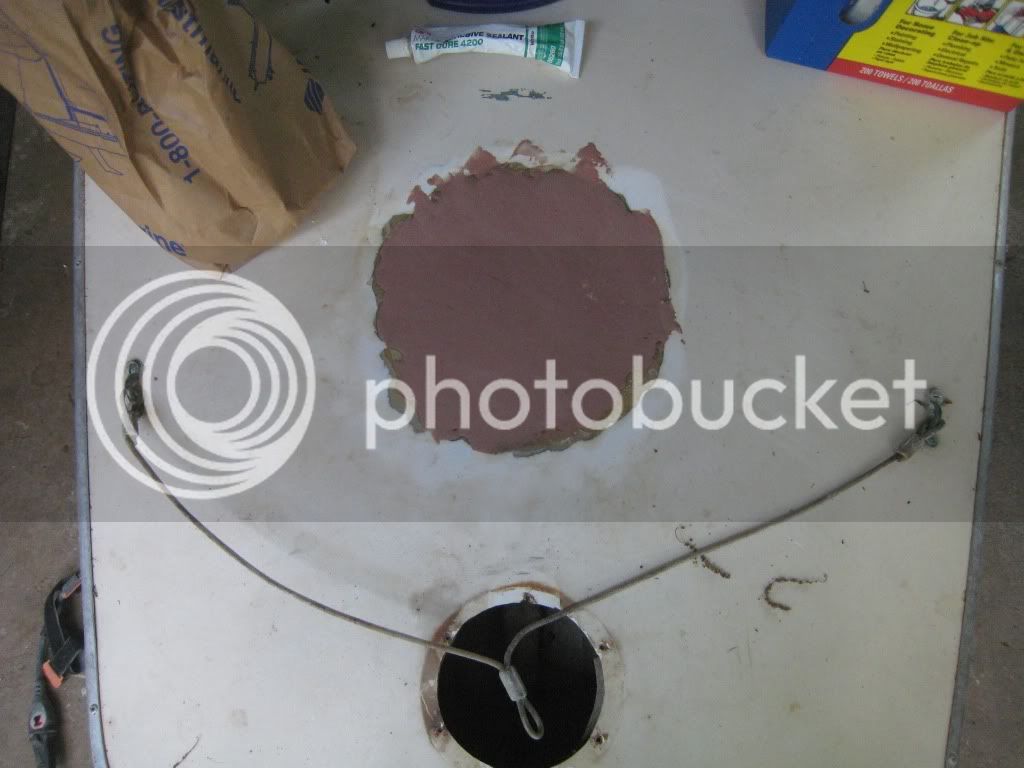
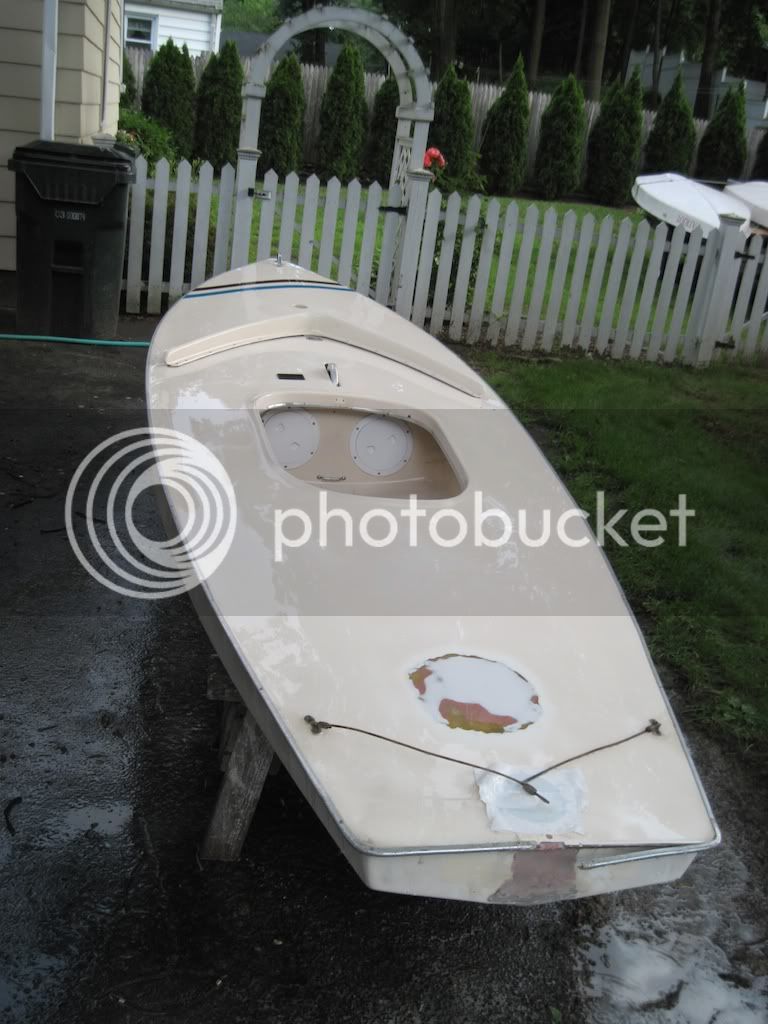
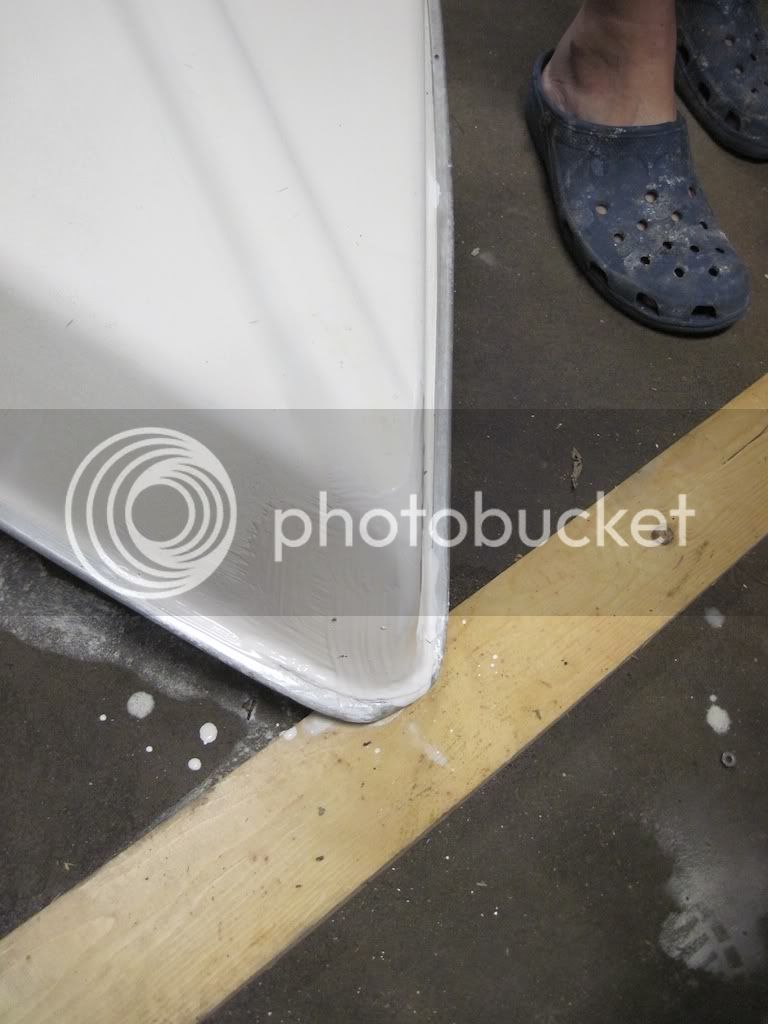
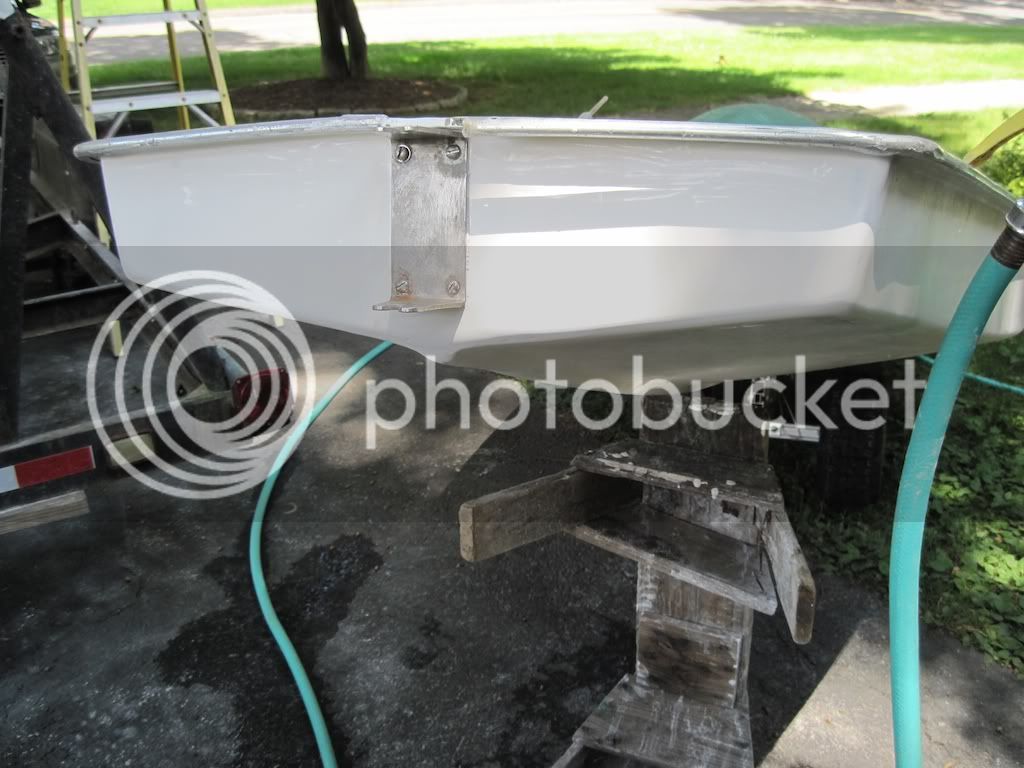
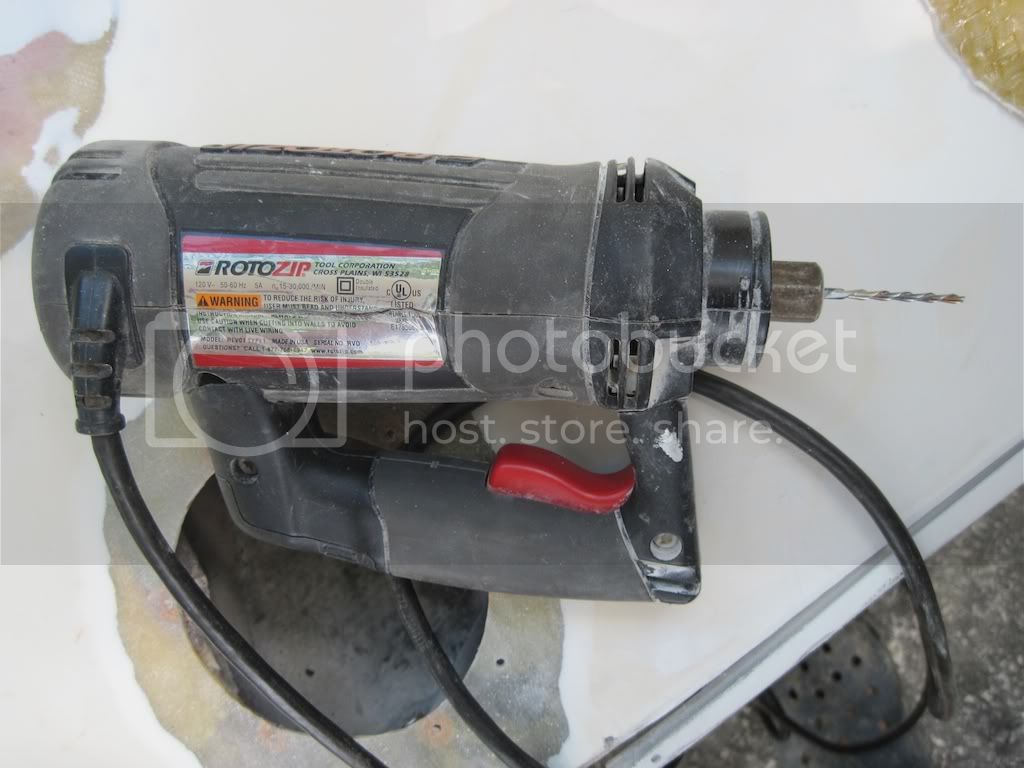
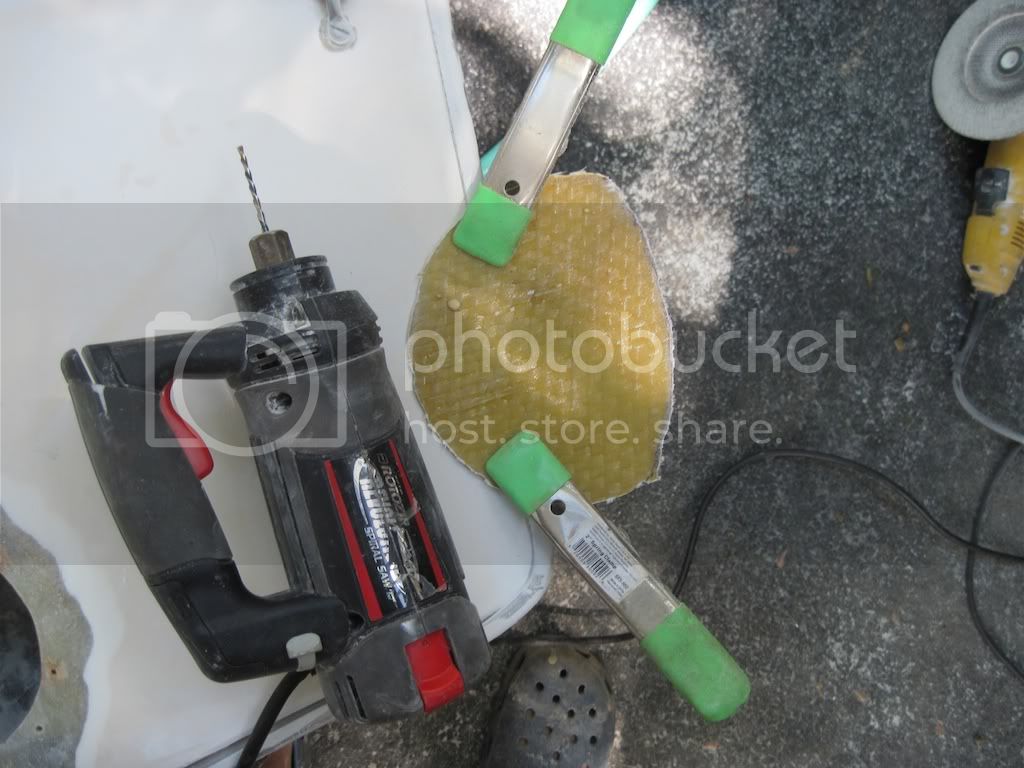
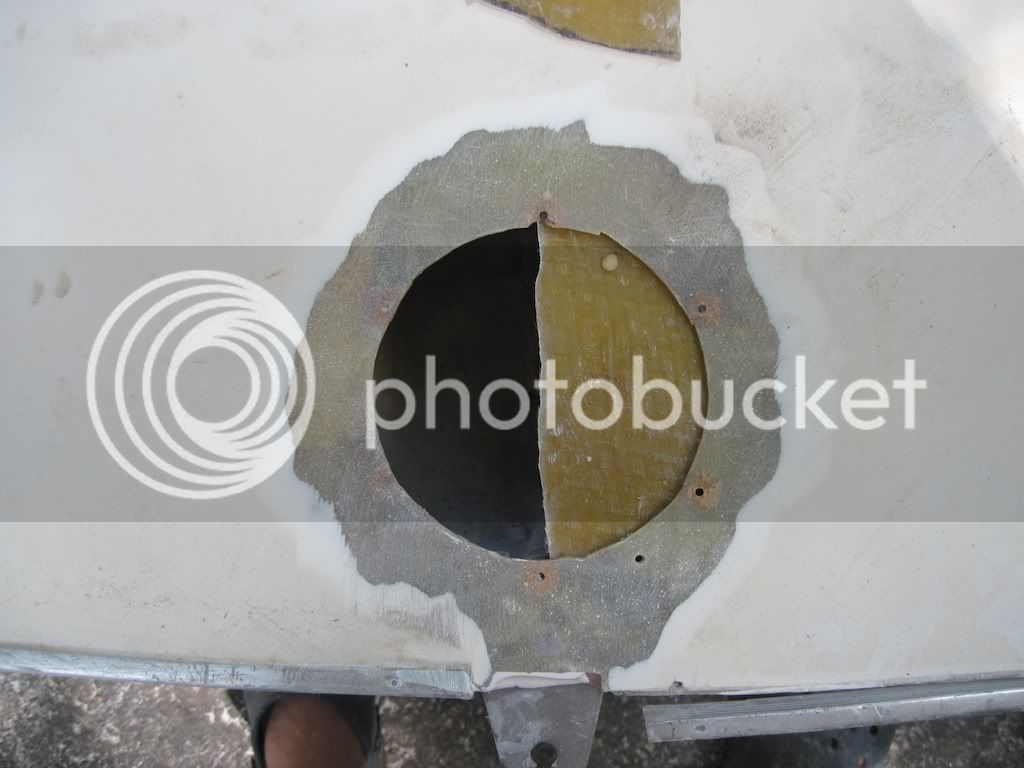
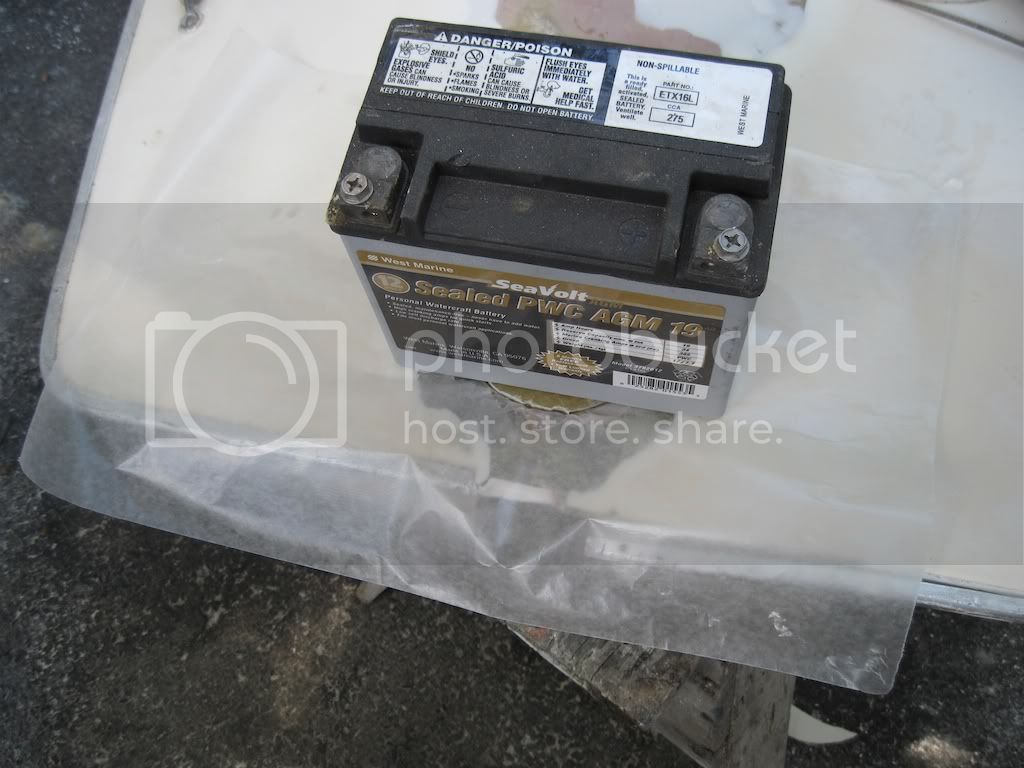
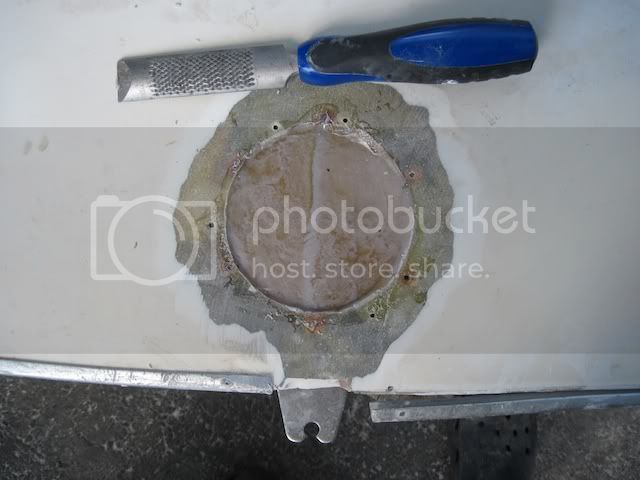
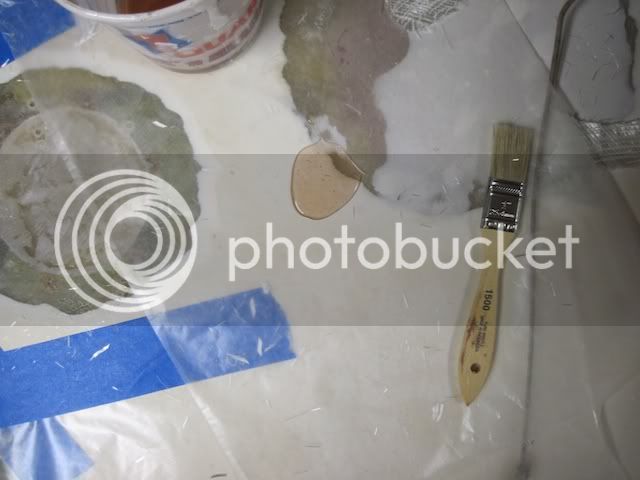
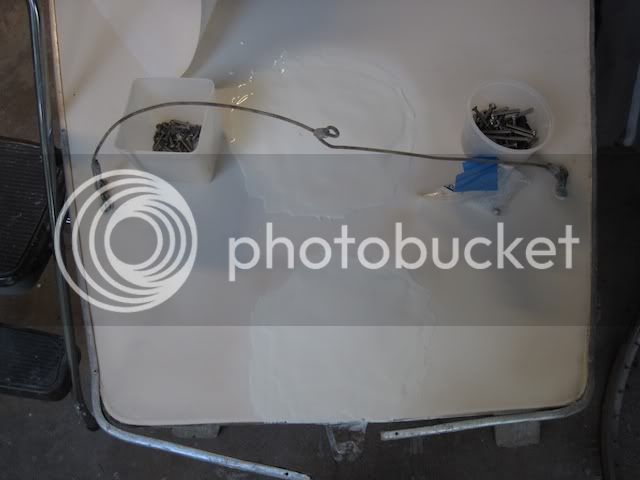
Here is most of my prep work for the rudder mount repair. I need to dremel off some more gel coat before I begin this repair. Once this is done and the mount is back on, I can repair the other hole, or install a new access port. If I can stand this boat on it's nose that would make it a lot easier to work on this area. I'll have to make some form wood to apply pressure since gravity won't help me like in the last patch.
I am not very good at matching gelcoat colors. I'm thinking I might try it anyway. realistically, I will probably paint a racing stripe, using two part epoxy paint--tough stuff, from the coaming to the stern to cover up the repairs.
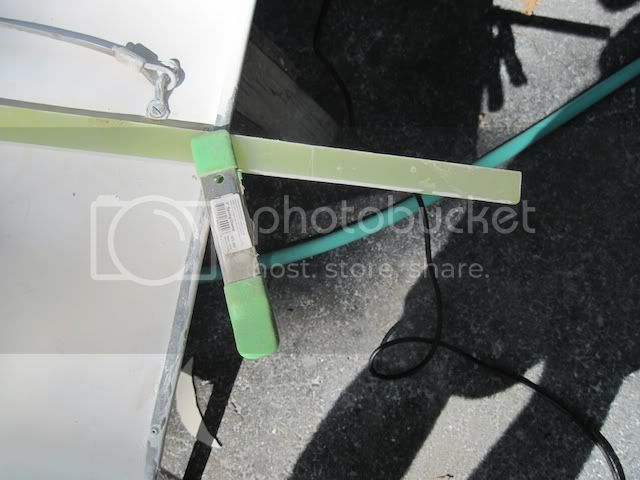
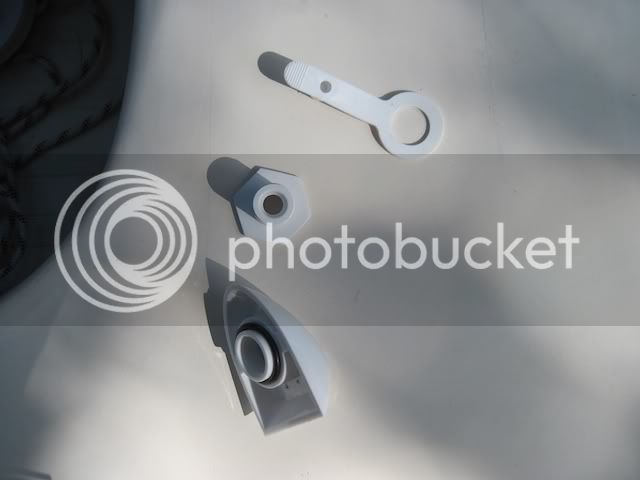
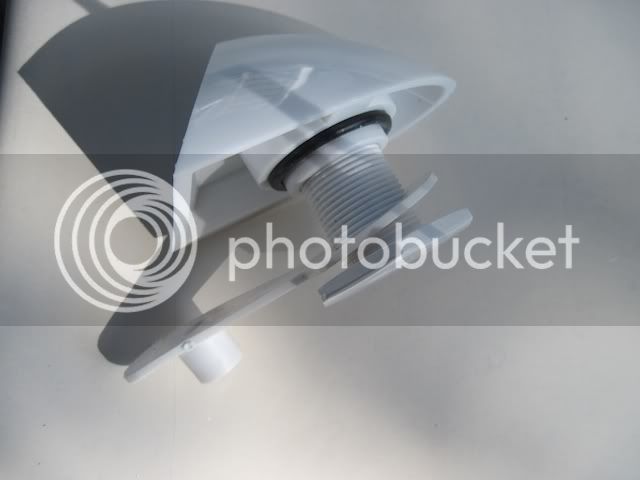
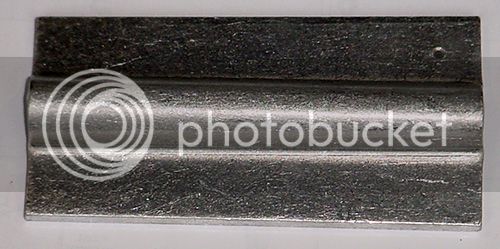
This is what is needed to support the rudder bracket. I am about to order one of these.
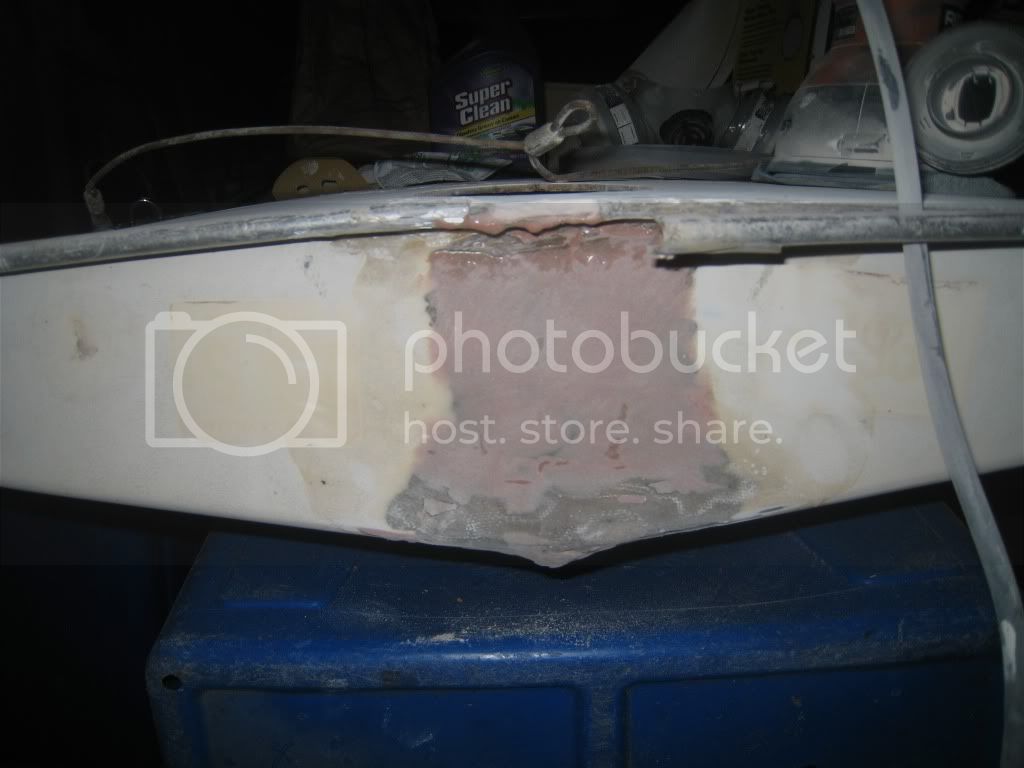
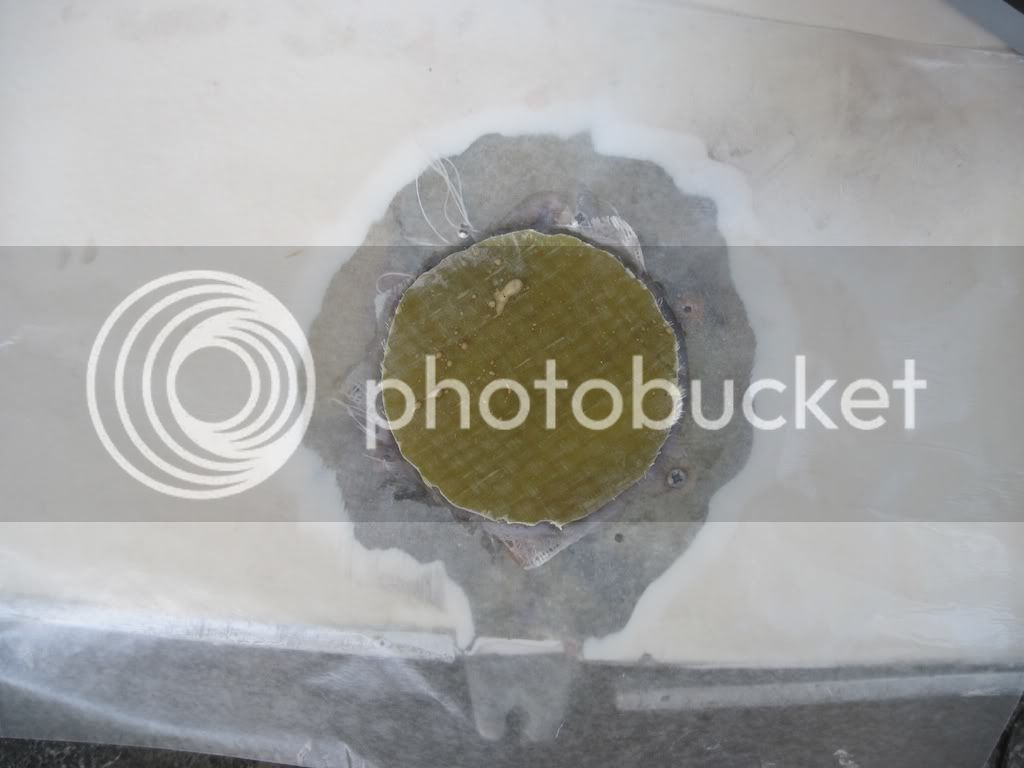
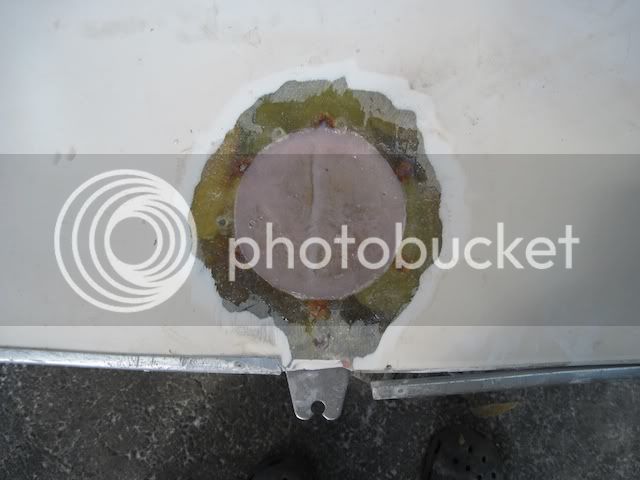
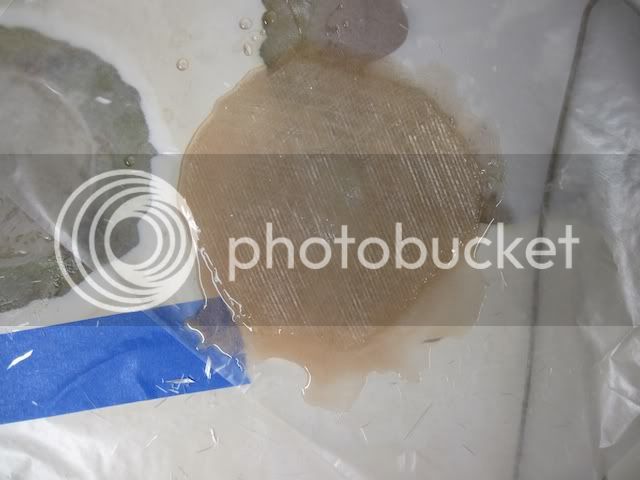
Here is the patch with it's form, and weight setting up. After this dries, I will hit it lightly with my grinder (with a sanding disk instead of a grinding wheel) and see how it looks. I might lay another patch on it if it needs it. If it moved a little off center, that will be the case. If it is fine, I'll fair it and try my hand at color matching the gelcoat.
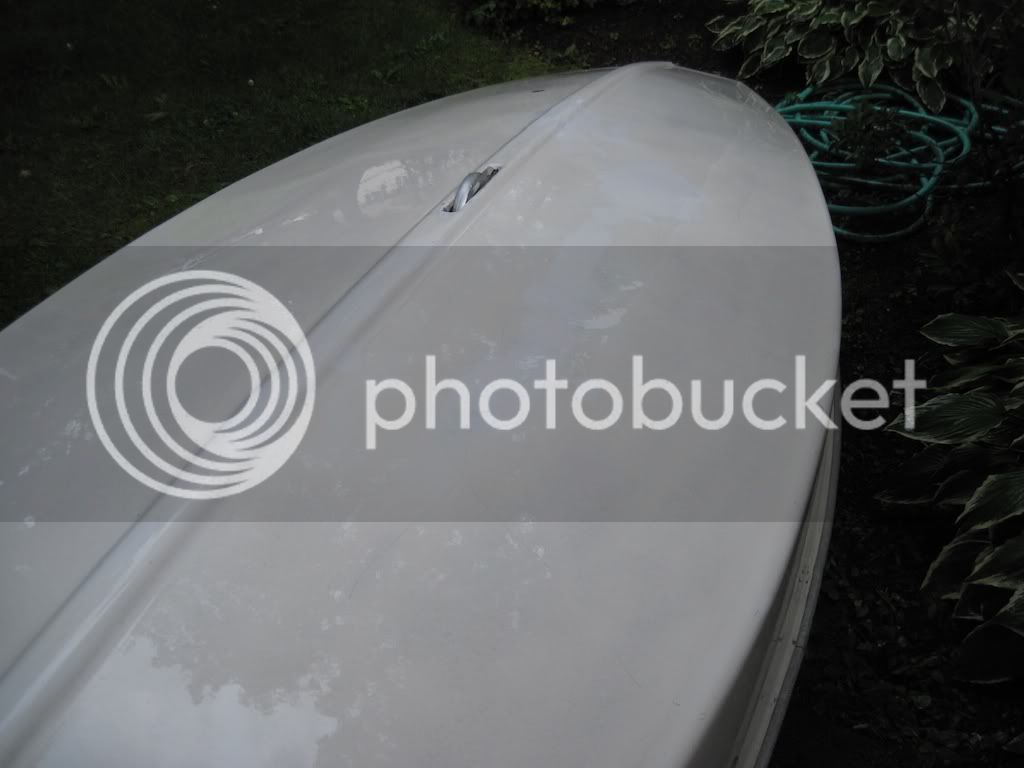
I really like this off-white, light cream colored deck. If I didn't have the two stripes on the bow, I'd just do a green racing stripe from bow to stern. The maroon and steel blue stripes on the boat will be hard to match in two part epoxy paint--so I will think about a complementary color. Black, grey, or white go with anything. I'd like to pick a green though.
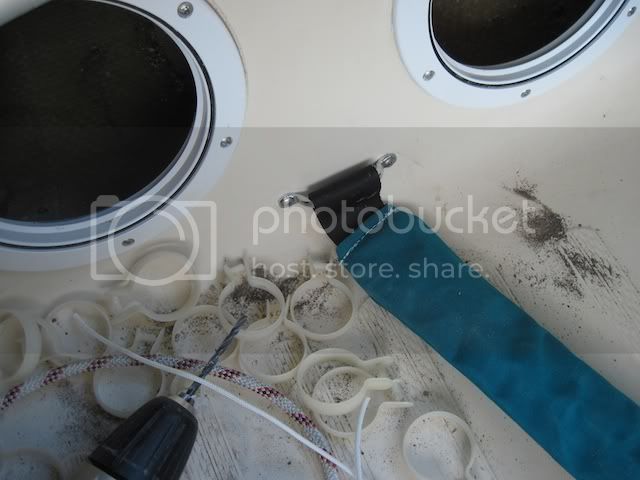
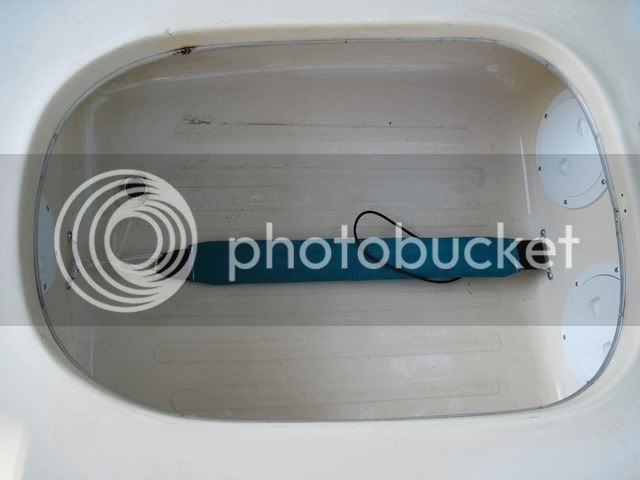
To install a hiking strap, I'll need another inspection port in the back end of the cockpit. I don't like deck mounted inspection ports. I prefer them in the cockpit where they are not so noticeable. That will help with drying the boat out a bit. I might do that tonight.
I've removed the deck cleats. Two different types, and one of each was missing. I tossed one out and kept the other as it was a decent cam cleat. The deck has been sanded with a random orbital and 220 grit, which cleaned it up OK. The coaming is in nice shape. I've already removed the old drain plug and will order a new plastic one soon.
Here is the problem area. Two holes in the back. One was put on to update the rudder. The forward hole was held in place with some cheap stuff. It looked like the cut the hole in the wrong place and did a crappy patch--without any fiberglass! When I later sanded this down, the plug fell through. Almost nothing was holding it on. I'm sure it leaked.
This rudder mount didnt' look too bad until I removed it. Massive amounts of silicone sealant was used and covered up much of the problem. One of the two holes had a rubber plug in it. The other filled with silicone. This boat must have been a leaker. Also notice the holes to secure the rudder bracket were too big. One of the holes had a crack because a backing plate was not used. That is worth fixing properly.
The halyard cleat was moved--probably because it came loose. The old holes were not filled in--more leaks there. This alone is a good reason to instal a racing clam cleat on the mast with two (2) 3/16" rivets. That has already been done. The rig has been repaired, has a new set of sail rings ready, and is awaiting a new sail already picked out.
This shows the area around one hole ground back with a grinder in preparation for fiberglassing. I next cut fiberglass cloth in circles of decreasing size--6 of them, from the full width of the area prepared, down to about 3.5" across. I masked the area off with wax paper to keep things neat. I layed another piece of wax paper down on the deck and used that to build up my patch. The idea is to make a pyramid of cloth to fill the hole, for maximum bonding. A bevel is cut in the deck, and the base is laid in there with smaller patches on top. Only I have a fast way, I developed for working on hulls. I make the whole multi-layer patch at once and slap it on and force the excess resin, and air bubbles out.
Here is how it works. I mixed some epoxy and poured a bit on the wax paper and laid down the smallest circular patch of fiberglass cloth and wet it out, then a bit more epoxy and the next larger piece of cloth, and so on until I had the largest piece all wet and ready to go. My pyramid is upside down on the wax paper.
The largest piece goes next to the hole--that is why I started with the smallest piece, because I flipped this patch onto the hole--which puts what was the top piece, now on the bottom.
To keep the middle from sinking in, I used the piece of glass and foam that was there originally, and propped up with a paper cup to keep the middle from sinking when I flipped the patch over. I spent a few minutes working the bubbles out and then I placed a large paperback book on top of another layer of clean wax paper, and then a heavy bag of turf building on top for weight--sandbags, or bags of anything that will put even pressure on the book ensures a tight bond with minimal resin. Resin doesn't make it strong, it just holds it together. The Fiberglass cloth makes the patch strong. I made sure the turf builder sack was also on the bridle so the whole patch wouldn't slide off.
Here is most of my prep work for the rudder mount repair. I need to dremel off some more gel coat before I begin this repair. Once this is done and the mount is back on, I can repair the other hole, or install a new access port. If I can stand this boat on it's nose that would make it a lot easier to work on this area. I'll have to make some form wood to apply pressure since gravity won't help me like in the last patch.
I am not very good at matching gelcoat colors. I'm thinking I might try it anyway. realistically, I will probably paint a racing stripe, using two part epoxy paint--tough stuff, from the coaming to the stern to cover up the repairs.
This is what is needed to support the rudder bracket. I am about to order one of these.
Here is the patch with it's form, and weight setting up. After this dries, I will hit it lightly with my grinder (with a sanding disk instead of a grinding wheel) and see how it looks. I might lay another patch on it if it needs it. If it moved a little off center, that will be the case. If it is fine, I'll fair it and try my hand at color matching the gelcoat.
I really like this off-white, light cream colored deck. If I didn't have the two stripes on the bow, I'd just do a green racing stripe from bow to stern. The maroon and steel blue stripes on the boat will be hard to match in two part epoxy paint--so I will think about a complementary color. Black, grey, or white go with anything. I'd like to pick a green though.
To install a hiking strap, I'll need another inspection port in the back end of the cockpit. I don't like deck mounted inspection ports. I prefer them in the cockpit where they are not so noticeable. That will help with drying the boat out a bit. I might do that tonight.