mitka
Member
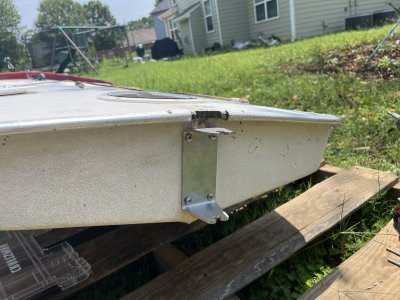
Okay I have come to the conclusion that the SunfishDirect conversion kit isn't. It's a hull access port, a modern rudder and gudgeon package. The re-enforcement bracket is longer than the height of the transom, so I would have to cut it down to use it at all. So with that, the drilling, and lack of appropriate hardware, it's clear that this may have been a viable kit in the past but has now drifted enough that several elements of the shipment aren't applicable.Alright! The #8 oval tops were perfect! #10 was right out.
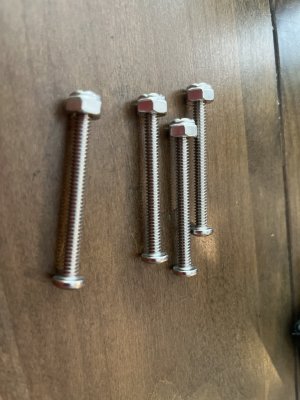
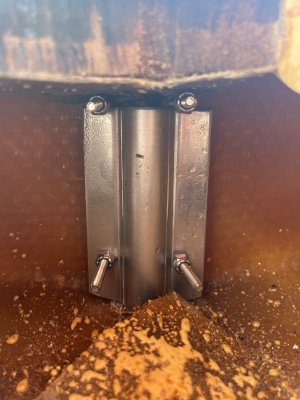
And that bent bolt that came with the kit? NO idea what it was for, when thought I bout a bag of two replacements, hah. Turns out another bolt was in the kit to attach the tiller and rudder.
Now… WHY no nuts with the bolts for the rudder mount?! And the holes aren’t large enough for the provided bolts. This kit needs some love. So many things are off.
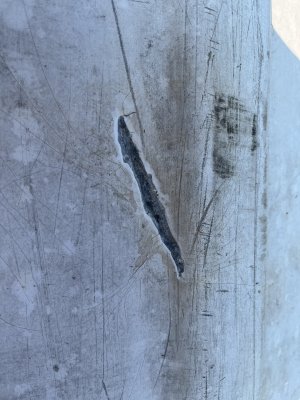
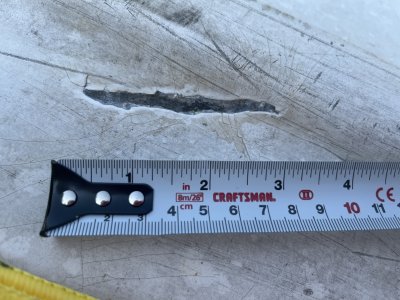
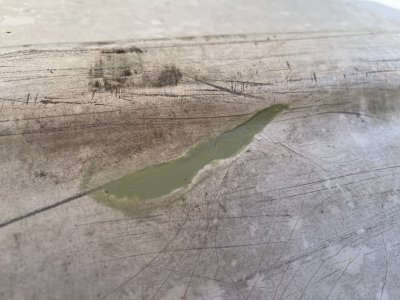
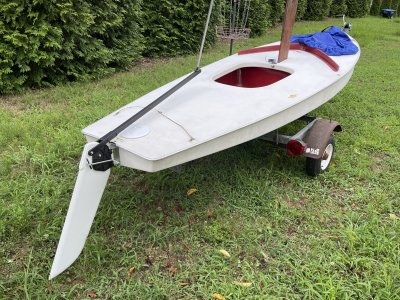
Going to finish the install this weekend, then picking up some scaffolding (I'm replacing two upstairs windows soon) to use as a suspension rig to invert the hull and get after that damage.
I'm actually pretty excited about transitioning to this. I'm going to learn sooo much. Hopefully not the hard way, hah!
")
")